Delaney Hat Free Crochet Pattern: Easy Beginner Tutorial
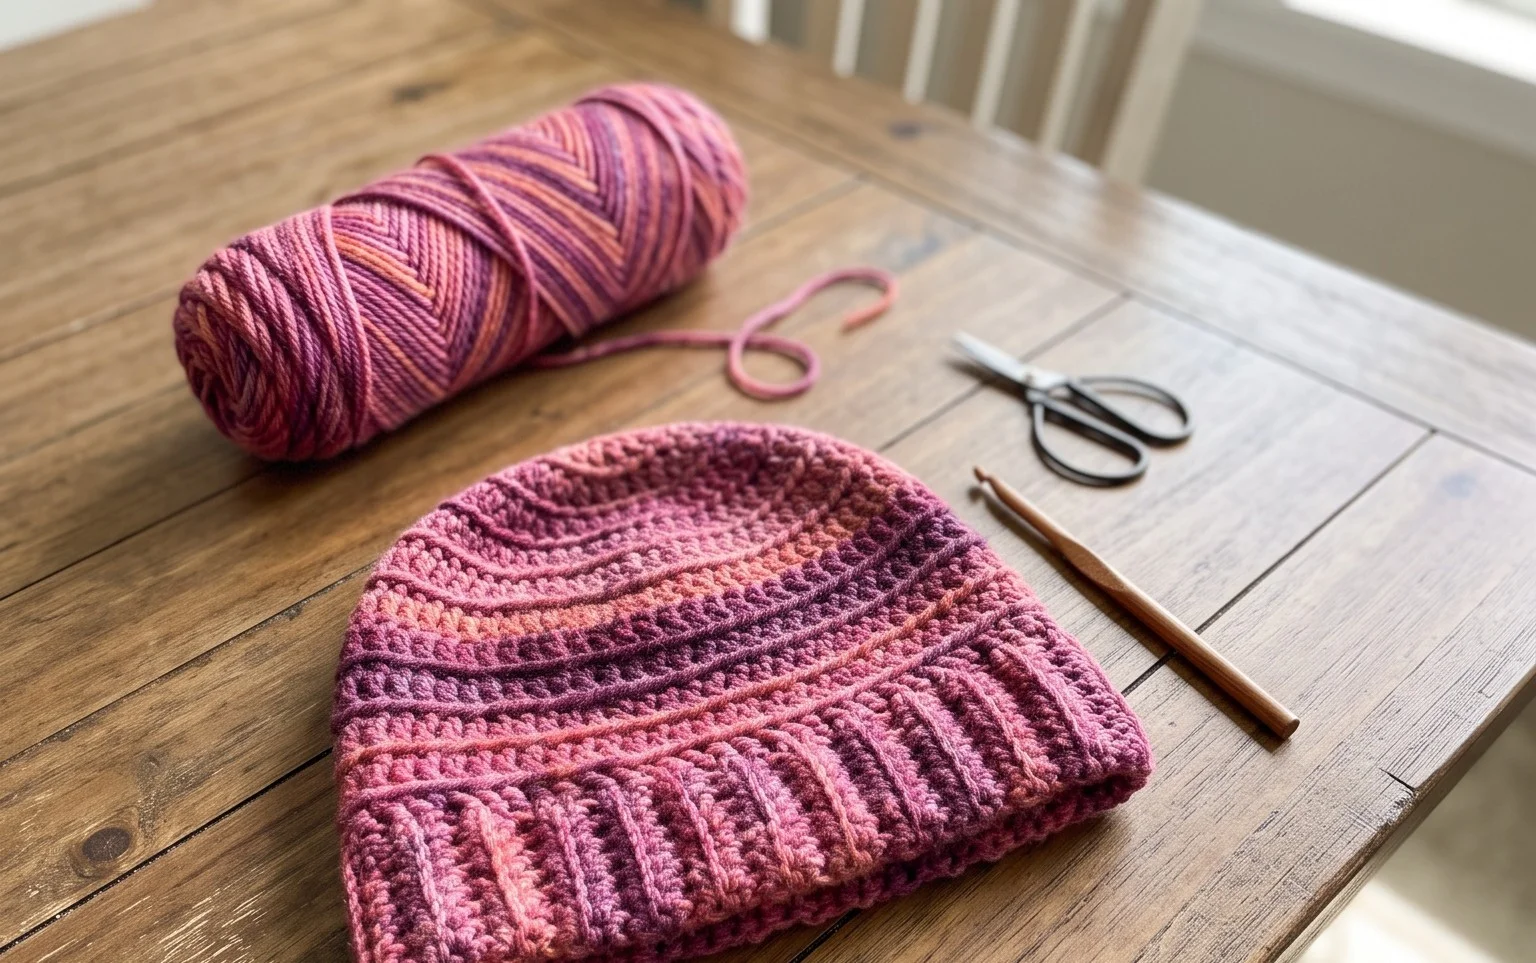
This beanie has a soft, squishy texture that traps heat against your ears during a biting morning commute or a long walk in the park. It is a fantastic choice for those new to needlework because it uses basic back loop stitches to build a stretchy fabric that looks like a store-bought item. You will quickly master the art of working flat rows into a simple rectangle before closing it up into a cozy shape. Making this accessory feels rewarding, as the rhythmic movement of your hook turns a single ball of yarn into a functional, stylish winter wardrobe staple.
Why You’ll Love This Pattern
This crochet ribbed beanie pattern utilizes a simple rectangular construction worked in turned rows, making it one of the most accessible projects for those new to garment making. By working primarily in the back loops, you achieve a stretchy, squishy texture that mimics the appearance of store-bought knit hats without requiring double-pointed needles. The project is highly portable, consisting of a single flat piece that is later seamed to form the final shape. Its rhythmic, repetitive nature provides a meditative experience, allowing you to finish a hat in just one or two evenings of crafting.
I finished this hat over a single weekend using leftover yarn from my stash, and the fit is incredibly comfortable for daily winter wear.
— Sarah, hobbyist crocheter
Pattern Overview & Skill Level
- Skill Level: Beginner
- Approximate Time: 3 to 5 hours
- Construction: Worked flat in rows as a rectangle, then seamed and cinched at the top.
- Finished Dimensions: Fits an average adult head, 18 to 22 inches in circumference.
Materials & Supplies Needed
- Yarn: Worsted weight (#4), approximately 200 yards of wool or acrylic blend yarn.
- Hook Size: 5.5 mm (US I-9) crochet hook.
- Notions: Large-eye tapestry needle, stitch markers, and scissors.
- Yarn Substitutions: You can use a DK weight yarn for a lighter feel, though you will need to increase the starting chain length to maintain the height. If using cotton yarn, note that the final fabric will be less stretchy and may feel heavier on the head.
Stitch Guide & Abbreviations (US Terms)
- ch: chain
- st/sts: stitch/stitches
- sl st: slip stitch
- hdc: half double crochet
- BLO: back loop only (insert hook under the back loop of the stitch instead of both loops).
Step-by-Step Pattern Instructions
The hat is worked from the side up. The starting chain determines the height of the hat. If you prefer a slouchy fit, add more chains to the foundation row.
Hat Body
- Row 1: Ch 40. Hdc in the second ch from hook and in each remaining ch across. Turn. (39 sts)
- Row 2: Ch 1 (does not count as a stitch). Hdc in BLO of the first st and each st across. Turn. (39 sts)
- Rows 3–60: Repeat Row 2 until the piece measures approximately 20 inches when slightly stretched.
Assembly and Finishing
- Fold the rectangle in half so that the short ends meet.
- With a tapestry needle and a long tail of yarn, seam the two edges together using a whip stitch or a mattress stitch.
- Once joined, weave the yarn through the top edge of the tube, pulling the tail tight to cinch the top of the hat closed.
- Secure the center with a knot and weave in all loose ends.
Care & Washing Instructions
- Hand wash in cool water using a gentle wool-safe detergent.
- Lay the hat flat on a towel to air dry away from direct heat sources.
- Reshape the hat while damp if the ribbed fabric has stretched out of form during washing.
Pro Tips & Common Mistakes to Avoid
Maintain consistent tension throughout the rows to prevent the edges from flaring or pulling inward. If you notice the hat is becoming trapezoidal, check your stitch count at the end of every row to ensure you are not accidentally skipping the final stitch. Use a stitch marker in the first stitch of each row to help track your progress and identify the turning point easily. If you decide to adjust the size, remember that adding more length to your starting chain will change the overall height of the finished product, whereas adding more rows will increase the circumference.
Frequently Asked Questions
Can I use a different weight of yarn for this pattern?
You can use different weights, but you must adjust your hook size to match the yarn label and may need to recalculate your starting chain length to ensure the hat fits correctly.
How do I make the hat fit a child instead of an adult?
Reduce the number of starting chains to decrease the height of the hat and work fewer total rows until the piece wraps comfortably around the child’s head.
Is this pattern suitable for someone who has never crocheted before?
Yes, this pattern relies on basic chains and half double crochet stitches, making it an ideal first project for practicing uniform stitch tension.
Can I sell the hats I make from this pattern?
Yes, you are welcome to sell finished items made from this pattern, provided you credit the original design and do not redistribute the pattern text itself.
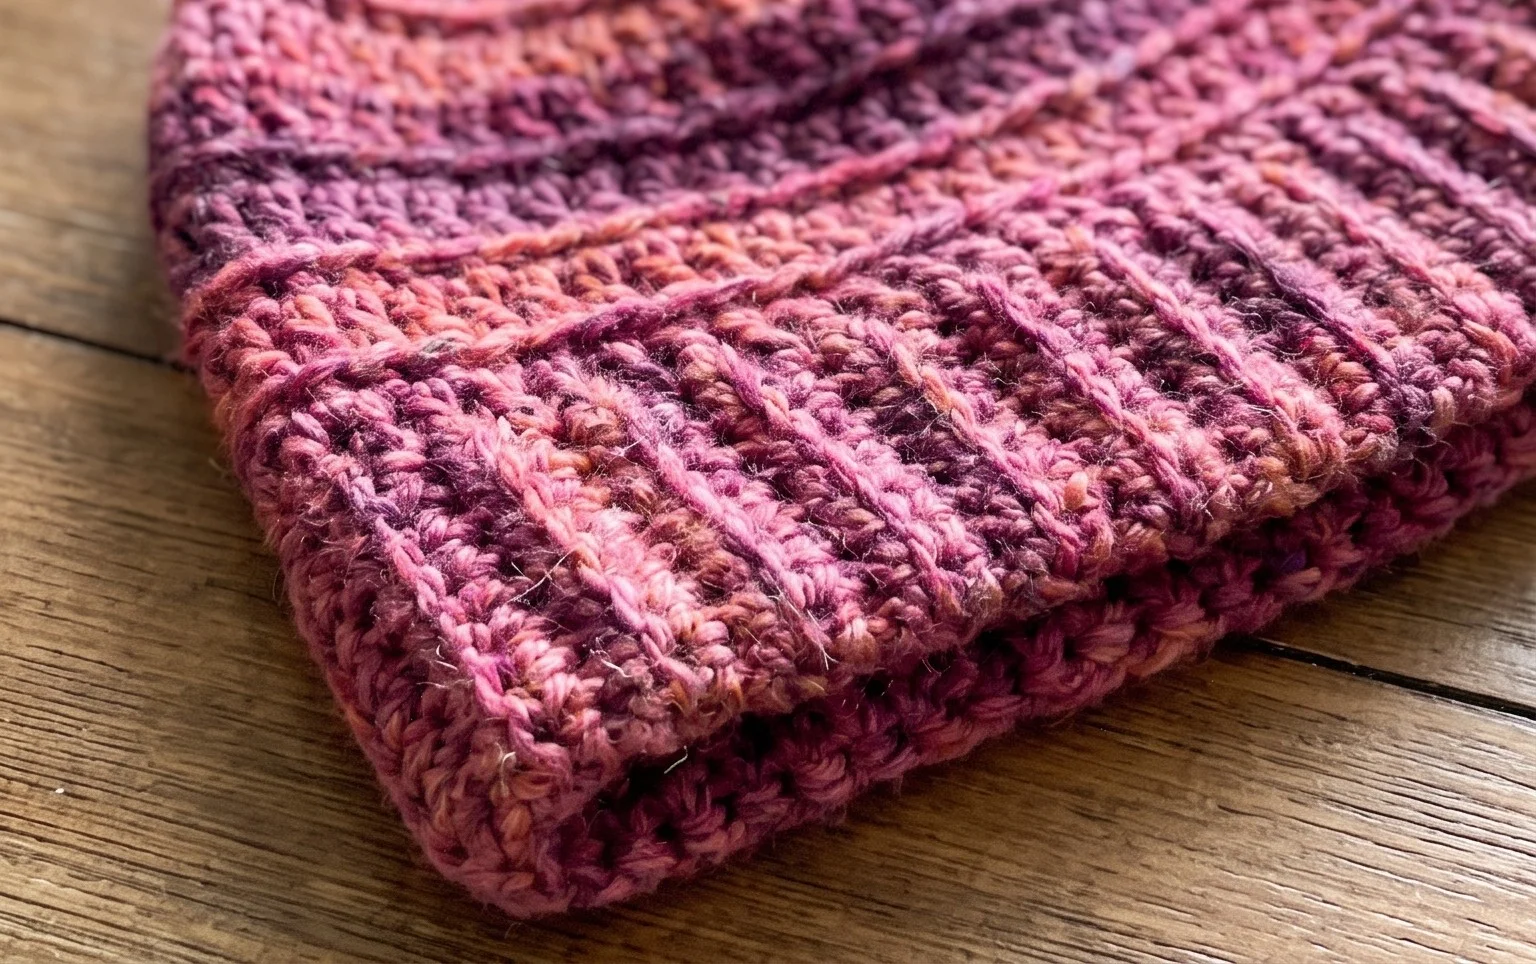
Wearing your handmade beanie brings a specific sense of pride when the temperature drops low enough to see your breath. You might try crafting your next version using a variegated wool yarn to highlight the clean vertical lines of the ribbed fabric or adjusting the chain length to create a slouchy fit. Please tag your finished photos on social media so others can see your unique color choices. Check back on the blog for more free projects that help you clear out your yarn stash while building your personal collection of handmade accessories.