15 Easy Crochet Patterns You Can Finish in Under an Hour
A pile of finished pouches sitting on your desk adds a sense of order to your workspace while giving you a creative outlet that requires very little time. These small containers feel firm in your hands, thanks to the tight tension of the cotton, and they hold stitch markers or loose jewelry without letting a single piece fall out. Beginners find this project approachable because it relies on basic chain and double crochet stitches, providing a rhythm that helps you track progress without needing to count every loop. You will learn to build a flat base before transitioning into a mesh pattern, giving you a functional bag that works as a quick gift or a simple desk organizer.
Why You’ll Love This Pattern
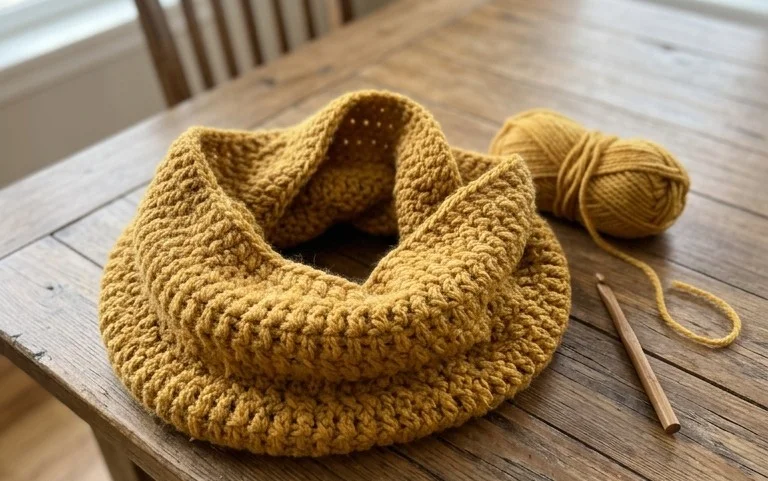
Creating a classic crochet drawstring pouch provides a functional way to organize small items like stitch markers, jewelry, or notions. The base features a sturdy circular construction that prevents items from slipping out, while the mesh-style sides offer a clear view of your contents. Because the project relies on basic stitches, you can finish it in a single evening, making it a reliable choice for last-minute gifts. The drawstring closure mechanism is simple to install and keeps the pouch securely shut during travel.
I managed to whip up three of these in a weekend to organize my project bags. The pattern is very easy to follow and the finished pouch feels sturdy even with a lighter yarn.
— Sarah, hobbyist crafter
Pattern Overview & Skill Level
- Skill Level: Beginner
- Approximate Time: 2 to 3 hours
- Construction: Worked in continuous rounds from a circular base upward, ending with a round of eyelets for the drawstring.
- Finished Dimensions: 4 inches diameter at base, 5 inches tall when flat.
Materials & Supplies Needed
- Yarn: Worsted weight (#4) cotton yarn. Approximately 60 yards required. Cotton is recommended for its lack of stretch and durability.
- Hook Size: 4.5 mm (US 7) crochet hook.
- Notions: Tapestry needle for weaving in ends, a locking stitch marker to track round starts, and scissors.
- Safe yarn substitutions: Acrylic worsted weight is a suitable alternative, though it will feel softer and slightly less structured than cotton. Avoid bulky wool, as it will make the eyelets too tight to thread the drawstring.
Stitch Guide & Abbreviations (US Terms)
- MR = Magic Ring
- ch = Chain
- sc = Single crochet
- dc = Double crochet
- inc = 2 sc in the same stitch
- st/sts = Stitch/stitches
- sl st = Slip stitch
- YO = Yarn over
Step-by-Step Pattern Instructions
Pouch Base
The base is worked in continuous rounds. Place a stitch marker at the start of each round to keep your place.
- Rnd 1: Start 6 sc into a MR. (6 sts)
- Rnd 2: Inc in each st around. (12 sts)
- Rnd 3: [Inc, 1 sc] repeat 6 times. (18 sts)
- Rnd 4: [Inc, 2 sc] repeat 6 times. (24 sts)
- Rnd 5: [Inc, 3 sc] repeat 6 times. (30 sts)
- Rnd 6: [Inc, 4 sc] repeat 6 times. (36 sts)
Pouch Sides
- Rnd 7: Sc in the back loop only (BLO) of every st around. (36 sts)
- Rnds 8–15: Sc in every st around. (36 sts)
- Rnd 16 (Eyelet Round): [Ch 2, skip 2 sts, 1 dc in next st] repeat 12 times. (36 sts, including ch spaces)
- Rnd 17: Sc in each st and ch space around. (36 sts)
- Finishing: Sl st to the first st of the round, fasten off, and weave in all yarn ends securely.
Drawstring
Create a foundation chain of 60 chains. Turn and work a sl st into each ch across. Fasten off and thread the cord through the eyelets created in Rnd 16, starting and ending at the same point so the ends can be pulled to tighten the bag.
Care & Washing Instructions
- Hand wash your finished pouch in cool water with a mild detergent to prevent color bleeding.
- Lay the pouch flat on a clean towel to air dry, reshaping it into a circle while damp.
- Do not iron the pouch, as this will flatten the texture and potentially damage the fibers.
Pro Tips & Common Mistakes to Avoid
Maintain consistent tension throughout the sides of the pouch to ensure the drawstring holes are uniform in size. Always use a stitch marker at the beginning of each round, as it is easy to lose count when working with repetitive single crochet stitches. When weaving in your ends, use a tapestry needle to go through the stitches in multiple directions, which prevents the yarn from working itself loose over time. If you decide to make a larger pouch, increase the base round counts by increments of six, but note that this will require significantly more yardage for the sides.
Frequently Asked Questions
Can I use a larger hook for this project?
Using a larger hook will increase the overall size of the pouch and create looser, drapier fabric. If you increase the hook size, ensure your stitches remain tight enough that small items do not fall through the gaps.
Is this pattern suitable for complete beginners?
Yes, the pattern uses only fundamental stitches. If you are comfortable with the magic ring and basic rounds, you will find this project approachable.
Can I sell the pouches I make from this pattern?
You are welcome to sell finished items made from this pattern, provided you credit the design. Please do not redistribute the pattern text or photos.
Why is the base curling while I work?
Some minor cupping is normal in early rounds. If the base curls significantly into a bowl shape, your tension might be too tight, or you may need to increase the number of stitches in your base rounds to force it to lay flat.
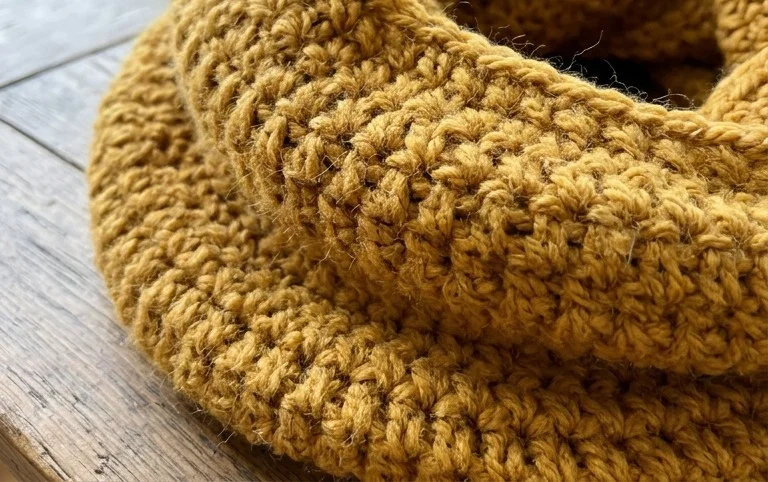
Your new pouch feels sturdy and ready to use, providing a clean home for your loose notions or small craft supplies. Try working with two strands of metallic embroidery thread held along with your cotton yarn if you want a subtle shimmer for a gift set. Sharing a photo of your work on social media helps others visualize how their own color choices might look in this mesh design. Visit our blog archive for more free patterns that you can complete during a brief lunch break or while watching your favorite show.