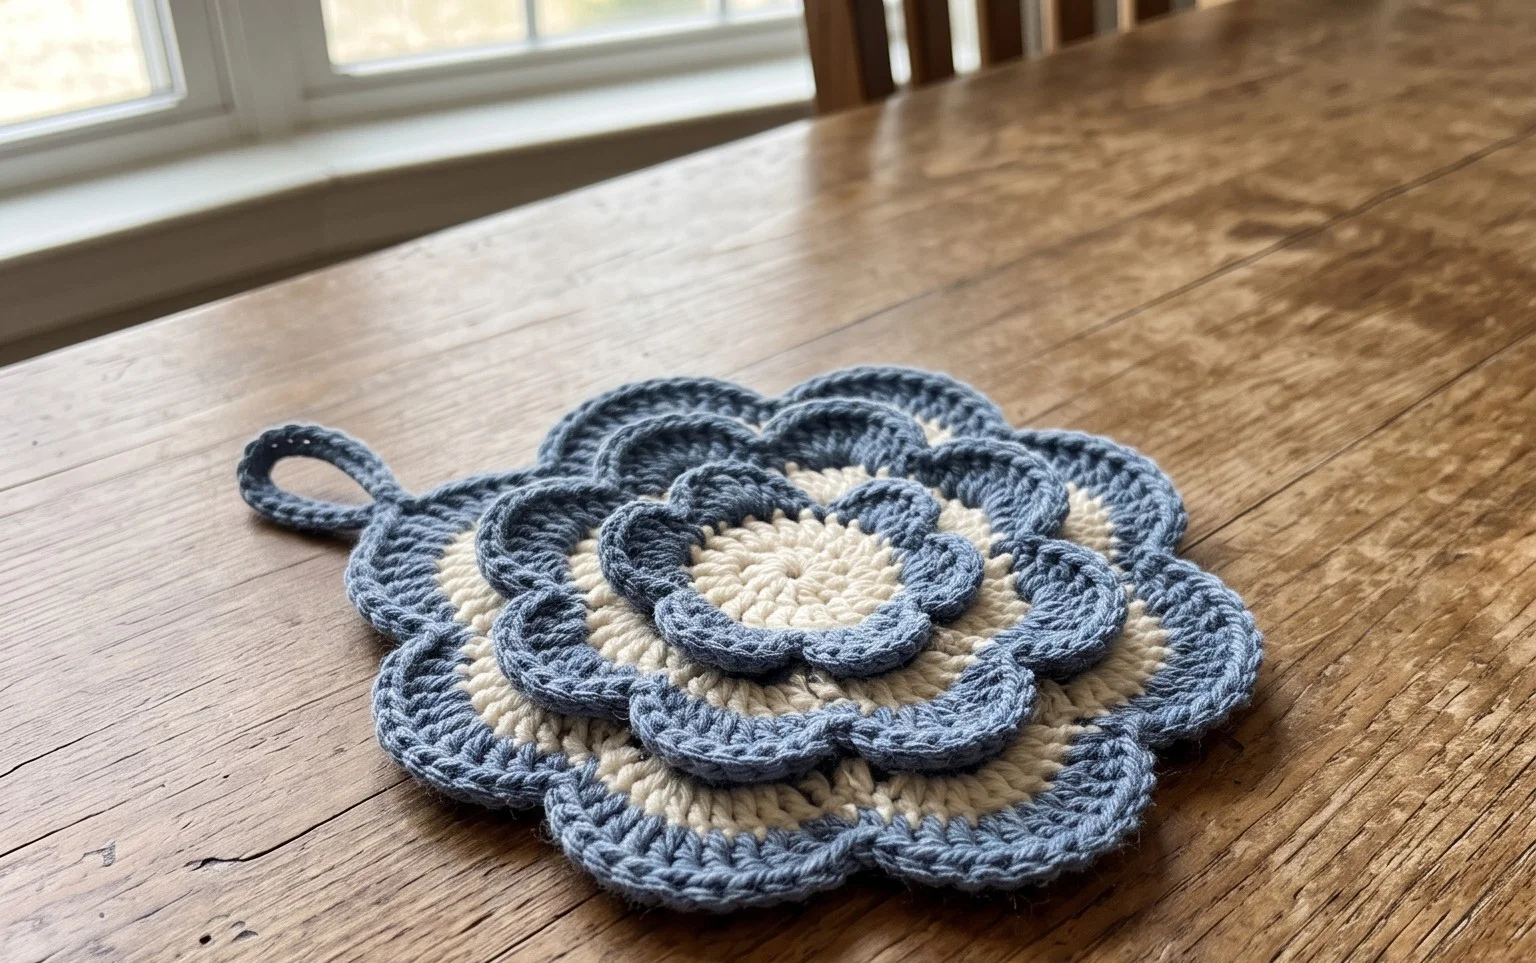
Easy Reversible Soup Bowl Cozy Crochet Free Pattern
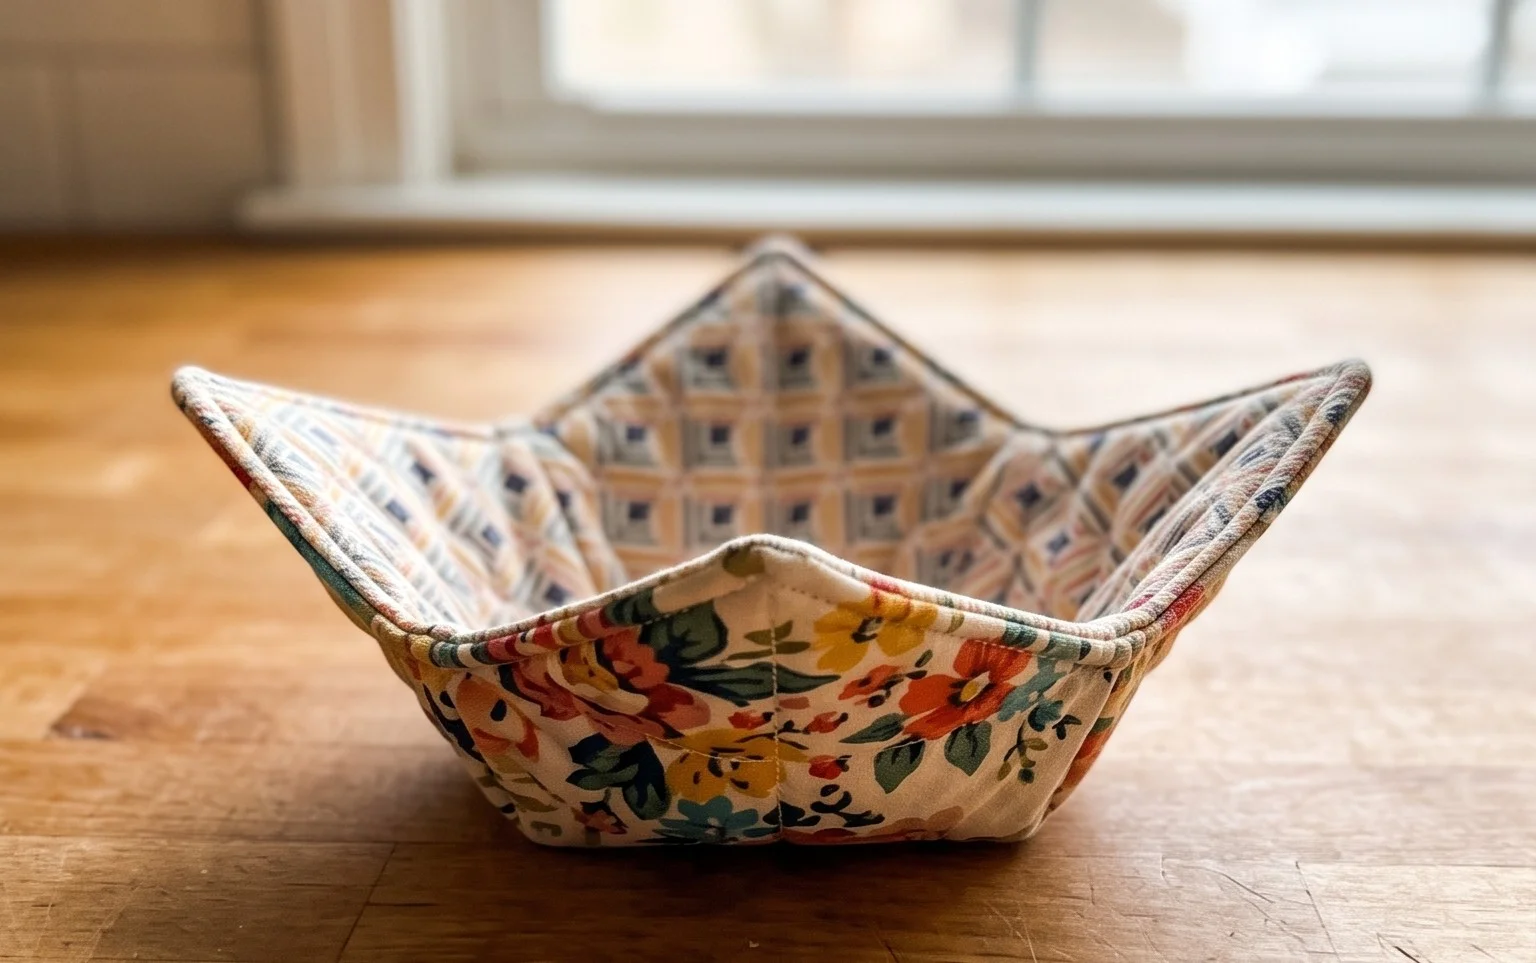
Warm chili in a ceramic bowl can make your hands feel like they are holding a hot coal, but this cozy adds a soft, double-thick layer between your fingers and the heat. This beginner-friendly project uses cotton yarn to create a sturdy fabric that hugs standard soup bowls with a snug, secure fit. You will enjoy how the simple double crochet stitches work up quickly, resulting in a dual-colored piece that looks great on any table. It is a satisfying way to practice shaping while building a useful item that prevents burns during chilly weeknight dinners at home.
Why You’ll Love This Pattern
This beginner-friendly crochet coaster set is an ideal project for using up small amounts of leftover cotton yarn. Because each coaster works up in just a few rounds, you can complete a full set of four in a single afternoon. The dense texture provides excellent heat protection for your wooden tables, and the simple stitch pattern allows for a meditative, rhythmic workflow that is perfect for crocheting while listening to podcasts. The finished result is a functional, durable addition to your home decor that holds its shape wash after wash.
I managed to whip up a stack of these for a housewarming gift in one evening. The pattern is very easy to follow and the final coasters look professional and sturdy.
— Sarah, hobbyist crocheter
Pattern Overview & Skill Level
- Skill Level: Beginner
- Approximate Time: 30 to 45 minutes per coaster
- Construction: Worked in joined rounds, starting from a center point and increasing evenly to create a flat circle
- Finished Dimensions & Sizing: 4 inches (10 cm) in diameter
Materials & Supplies Needed
- Yarn: Worsted weight (#4) 100% cotton yarn, approximately 15 yards per coaster. Cotton is required for its heat resistance and ability to absorb moisture.
- Hook Size: 5.0 mm (H-8) crochet hook to achieve a firm, non-stretchy fabric.
- Notions: Tapestry needle for weaving in ends and scissors.
- Safe yarn substitutions: You may use a bamboo-cotton blend for a softer feel, though it may be slightly less heat-absorbent. Avoid acrylic yarn, as it can melt when placed under hot coffee mugs.
Stitch Guide & Abbreviations (US Terms)
- ch = chain
- st = stitch
- sl st = slip stitch
- sc = single crochet
- dc = double crochet
- inc = 2 dc in the same stitch
- MR = magic ring
Step-by-Step Pattern Instructions
Each coaster is worked in rounds. Join with a slip stitch to the first stitch of the round and chain two to begin the next round (the chain does not count as a stitch).
Coaster Body
- Rnd 1: Start with a MR. Ch 2, work 12 dc into the ring. Join to the first dc with a sl st. (12 sts)
- Rnd 2: Ch 2, work 2 dc in each st around. Join to the first dc. (24 sts)
- Rnd 3: Ch 2, 1 dc in next st, inc in next st. Repeat from * to * 12 times. Join to the first dc. (36 sts)
- Rnd 4: Ch 2, 1 dc in next 2 sts, inc in next st. Repeat from * to * 12 times. Join to the first dc. (48 sts)
- Rnd 5: Ch 1, work 1 sc in each st around. Join to the first sc and fasten off. (48 sts)
Finishing
Cut the yarn, leaving a 6-inch tail. Use your tapestry needle to weave the yarn tail through the back of the stitches to secure it. Repeat this process for the starting tail at the magic ring, ensuring the center is pulled tight so no hole remains.
Care & Washing Instructions
- Machine wash your cotton coasters on a gentle cycle in cold or warm water to remove coffee or tea stains.
- Lay the coasters flat on a towel to air dry, ensuring they are reshaped into a perfect circle while damp.
- If the edges curl after drying, lightly steam them with an iron on a cotton setting, pressing them flat under a clean kitchen towel.
Pro Tips & Common Mistakes to Avoid
- Tension consistency is the most important factor in preventing ripples. If your coaster begins to cup, your tension is too tight; if it ruffles, your tension is too loose.
- Place a stitch marker in the first stitch of every round. This helps you identify exactly where to join at the end of the round, preventing missed stitches or accidental increases.
- Weave your ends in opposite directions to prevent them from coming loose during laundering. A blunt-tipped tapestry needle is the best tool for threading yarn through tight crochet stitches.
- To increase the size of the coaster for a larger mug or bowl, simply continue the increase pattern in Rnd 4 by adding one extra stitch between increases for each additional round. Note that this will increase your total yardage requirement.
Frequently Asked Questions
Can I use acrylic yarn instead of cotton?
It is not recommended. Acrylic yarn is synthetic and can melt or deform when exposed to the high temperatures of hot mugs, making it unsuitable for coasters.
Why is my coaster curling up like a bowl?
Curling usually happens if your tension is too tight. Try going up one hook size or intentionally relaxing your grip on the yarn to ensure the stitches have enough room to lie flat.
Can I sell the coasters I make from this pattern?
You are welcome to sell finished items made from this pattern as long as you credit the original design. Please use your own photographs rather than copying images from this tutorial.
Is this pattern suitable for someone who has only done chains?
Yes, this is an excellent second project. It introduces the magic ring, basic double crochet stitches, and the concept of working in the round, all of which are essential skills for more advanced amigurumi or garment patterns.
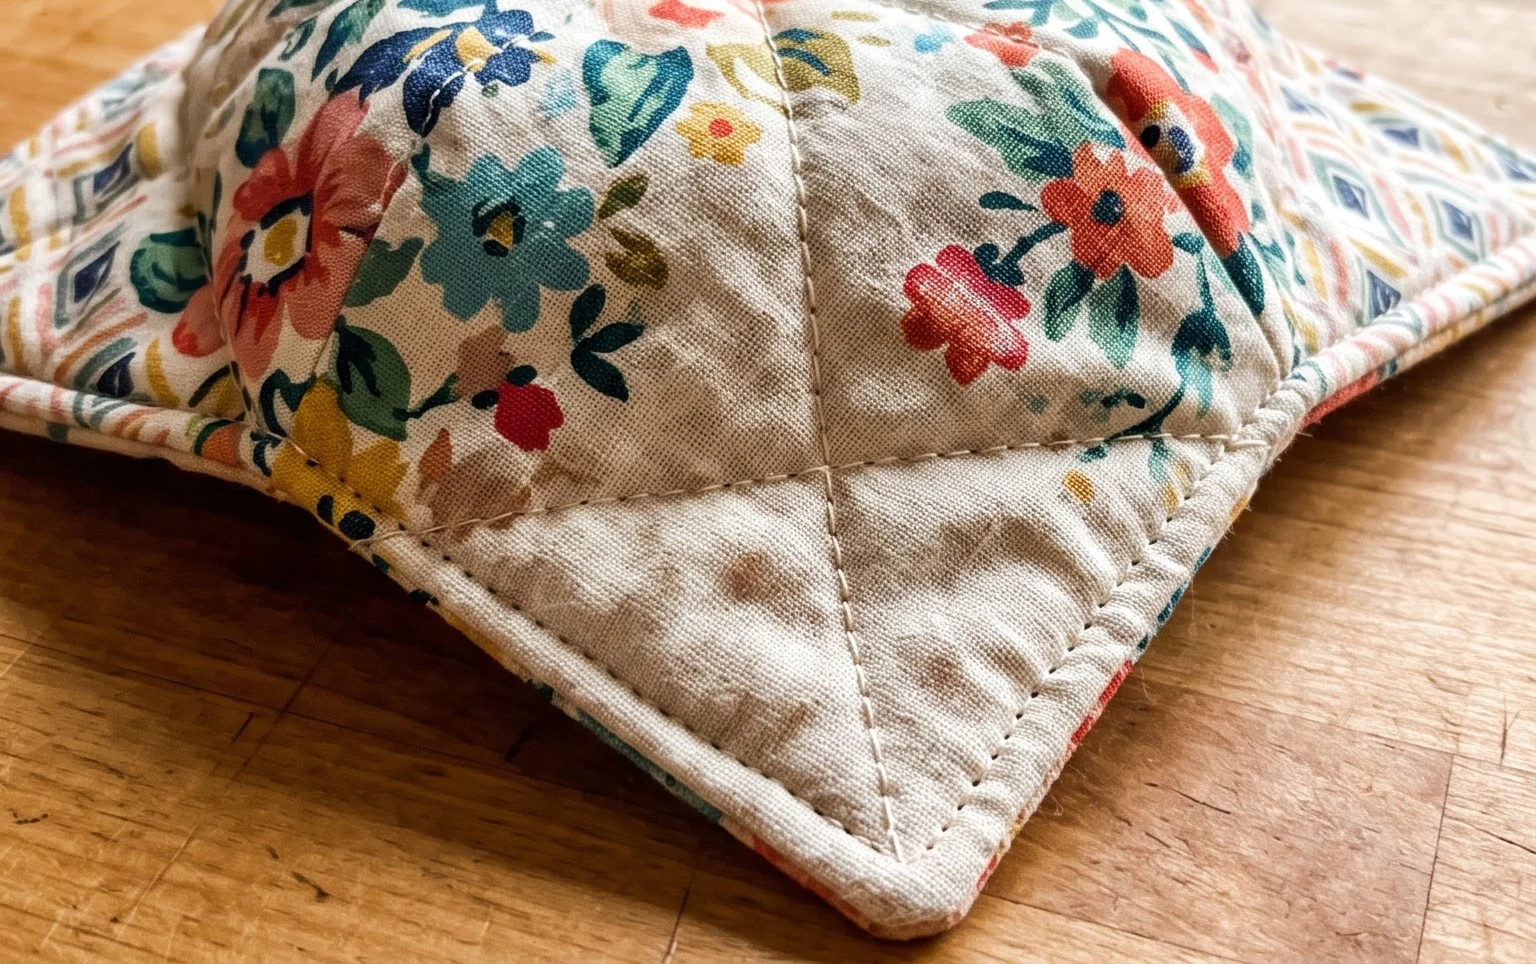
Your finished project provides a cozy, heat-resistant barrier for every bowl of soup you serve. You can customize the look by using a contrasting color for the second layer or by adding a decorative shell stitch around the top edge for flair. Sharing your completed creation on your favorite social media site helps other makers find inspiration for their own yarn stash projects. Please take a moment to browse the rest of the blog for more free patterns that you can start today.