Easy Crochet Flower Potholder: Free Pattern & Tutorial
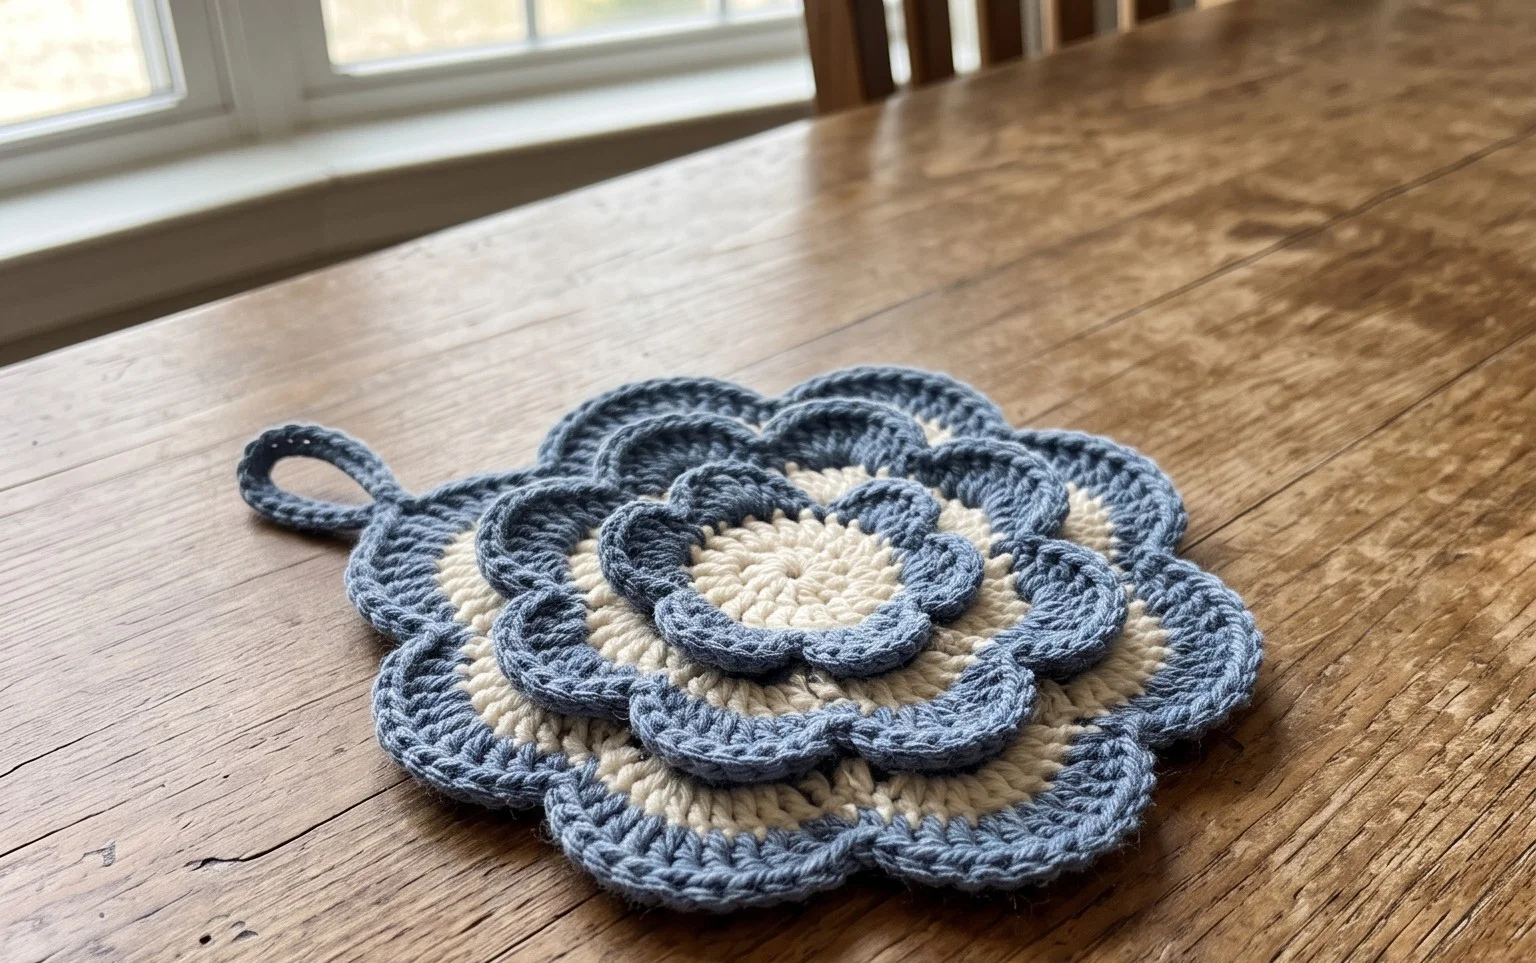
A thick, dense fabric is what separates a truly functional kitchen accessory from one that burns your fingers after a single use. This project creates a dense, floral-shaped piece that protects your hands while adding a soft touch to your oven door handle. Beginners enjoy this pattern because it relies on the thermal stitch, a technique that transforms simple cotton yarn into a heavy-duty layer of insulation. You will find that mastering this repeating loop pattern builds muscle memory quickly, providing a finished item that stands up to daily scrubbing and heat without losing its original shape or size.
Why You’ll Love This Pattern
This classic crochet dishcloth relies on the sturdy texture of the thermal stitch, creating a thick, double-layered fabric that holds up to heavy-duty scrubbing. Because it works up in a simple back-and-forth rhythm, it is an ideal project for practicing tension control without needing to memorize complex lace charts. The finished cloth provides superior heat resistance and scrubbing power, making it a functional addition to any kitchen environment. Since it requires less than one full skein of cotton yarn, it is also a practical way to use up leftover materials from larger home decor projects.
I finally found a dishcloth pattern that does not stretch out after two uses. The thickness of the thermal stitch makes it feel like a professional cleaning tool rather than just a decorative piece.
— Sarah, home crafter
Pattern Overview & Skill Level
- Skill Level: Beginner
- Approximate Time: 90 minutes
- Construction: Worked in flat rows using the thermal stitch method (inserting the hook into the back loop of the current row and the front loop of the row below)
- Finished Dimensions & Sizing: 7 inches by 7 inches
Materials & Supplies Needed
- Yarn: Worsted #4 weight, 100% cotton, approximately 85 yards. Using 100% cotton is vital for heat resistance and absorbency.
- Hook Size: 5.0 mm / H-8
- Notions: Tapestry needle for weaving ends, stitch markers to track the start of rows.
- Safe yarn substitutions: A cotton-linen blend works well, though it may be slightly less absorbent. Avoid acrylic yarn for dishcloths, as it does not absorb water and can melt if used on hot pans.
Stitch Guide & Abbreviations (US Terms)
- ch = chain
- sc = single crochet
- sl st = slip stitch
- st/sts = stitch/stitches
- BLO = back loop only
- FL-below = front loop of the stitch in the row below (the loop remaining from the previous row’s back loop work)
- Thermal Sc = Insert hook into the BLO of the current row and simultaneously into the exposed FL-below from the row beneath, yarn over, pull up a loop, yarn over, pull through both loops on hook.
Step-by-Step Pattern Instructions
Foundation Row
Ch 26. Starting in the second ch from the hook, work one sc into the back bump of each ch across. Ch 1, turn. (25 sts)
Body of the Dishcloth
- Row 1: Sc in the BLO of every stitch across. Ch 1, turn. (25 sts)
- Row 2: Work one Thermal Sc in every stitch across. To do this, insert your hook into the BLO of the current stitch and the FL-below from Row 1. Ch 1, turn. (25 sts)
- Rows 3–40: Repeat Row 2 until the piece measures approximately 7 inches. Ensure you maintain the same tension throughout to keep the edges square. (25 sts)
Finishing
Once you reach the desired length, fasten off your yarn, leaving a 6-inch tail. Thread the tail onto a tapestry needle and weave it securely through the base of the final row to prevent unraveling. Trim any excess thread close to the fabric.
Care & Washing Instructions
- Machine wash in warm water on a gentle cycle to remove oils and kitchen residue.
- Lay the dishcloth flat on a clean towel to air dry, which helps maintain its square shape.
- Do not bleach, as this can degrade the natural cotton fibers and cause the cloth to fray prematurely.
Pro Tips & Common Mistakes to Avoid
Maintain consistent tension throughout the project, as the thermal stitch can become very tight if you pull the yarn too aggressively. If you struggle to insert the hook into the loop from the row below, try using a slightly larger hook size for just the foundation chain to ensure the base isn’t constricted. Use a stitch marker on the first stitch of every row; because the thermal stitch creates such a dense fabric, it is easy to accidentally skip the final stitch of a row, which will cause your square to slant into a trapezoid. If you wish to make a larger cloth, simply increase your starting chain by an odd number, though keep in mind that you will need additional yardage to account for the thickness of the thermal fabric.
Frequently Asked Questions
Can I use a different yarn weight for this pattern?
Yes, but changing the weight will significantly alter the finished size. If you use a DK weight yarn, you will need to add more foundation chains and extra rows to achieve a 7-inch square.
Why is my dishcloth curling at the edges?
Curling usually happens if your tension is too tight or if you are missing the final stitch of each row. Always count your stitches at the end of every row to ensure you have exactly 25.
Is this pattern suitable for complete beginners?
Yes, provided you are comfortable with basic single crochet. The thermal stitch requires a bit of focus for the first few rows, but the rhythm becomes repetitive and easy to track quickly.
Am I allowed to sell the dishcloths I make from this pattern?
You are welcome to sell finished items created from this pattern. I only ask that you credit the design back to this page if you choose to list them online.
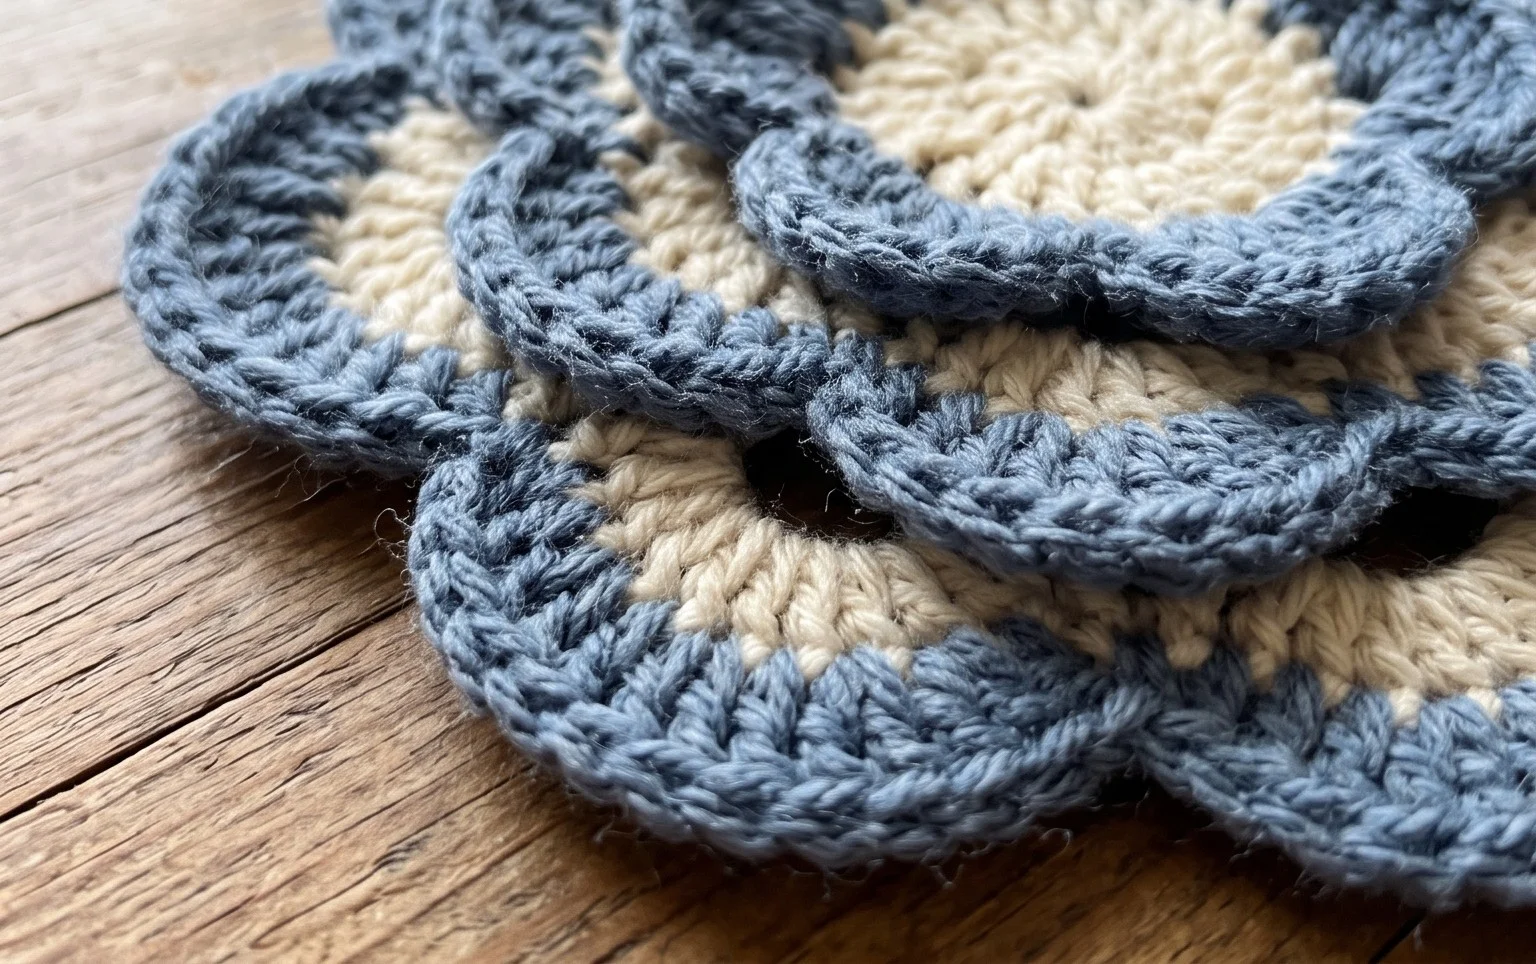
Your finished floral piece will bring a sense of handmade warmth to your kitchen, especially when displayed against neutral countertops. If you want to customize your next set, try holding two strands of a lighter weight yarn together to create a multi-colored marled effect. Seeing how your creation looks in your own home is the best part, so share a snapshot of your progress on social media. Check out the rest of the blog for more simple, functional home patterns to continue building your collection.