Easy Crochet Coaster Free Pattern: Beginner Guide
These thick cotton coasters sit firmly on your coffee table and stop condensation from leaving those annoying rings on your wood finish. You can feel the weight of the dense, single crochet fabric in your hand, which gives them a professional, durable quality that mass-produced alternatives lack. Making these is a simple way to practice working in a continuous spiral while building confidence in your tension and stitch consistency. By the end of this guide, you will understand exactly how to select your fiber and prepare your tools to create these functional home staples for yourself or a friend.
Why You’ll Love This Pattern
This beginner-friendly crochet coaster pattern provides a practical way to protect your furniture while practicing fundamental stitch techniques. The design relies on a continuous spiral, which removes the need for visible seams or joining stitches at the end of each round. Because the pattern uses single crochet stitches throughout, it creates a dense, sturdy fabric that lays perfectly flat on tabletops. You can easily complete a set of four in a single afternoon, making these an ideal last-minute gift for housewarmings or holiday events.
I finished these coasters in under an hour. The instructions for the increase rounds were very clear, and they turned out perfectly flat without any curling.
— Sarah, hobbyist crocheter
Pattern Overview & Skill Level
- Skill Level: Beginner
- Approximate Time: 45 minutes for a set of four
- Construction: Working in continuous rounds starting from a center point
- Finished Dimensions & Sizing: Approximately 4 inches in diameter
Materials & Supplies Needed
- Yarn: Worsted weight (#4) cotton yarn. Cotton is preferred for coasters because it is absorbent and withstands heat better than acrylic. You will need approximately 15 yards per coaster.
- Hook Size: 5.0 mm (US H-8)
- Notions: Tapestry needle for weaving ends, stitch marker to track the start of each round, scissors.
- Safe yarn substitutions: You may use a blend of cotton and linen for added texture. Avoid 100% wool as it may felt if exposed to hot mugs, and avoid pure acrylic which does not absorb moisture well.
Stitch Guide & Abbreviations (US Terms)
- MR: Magic Ring. A method of starting rounds by working stitches into an adjustable loop.
- ch: Chain stitch.
- sc: Single crochet. Insert hook into stitch, yarn over, pull up a loop, yarn over, pull through two loops.
- inc: Increase. Work 2 sc into the same stitch to add volume.
- sl st: Slip stitch. Used here only for finishing the round invisibly.
- st/sts: Stitch or stitches.
Step-by-Step Pattern Instructions
Main Coaster Body
- Rnd 1: Start with a MR. Work 6 sc into the ring. Pull the tail tight to close the center hole. (6 sts)
- Rnd 2: Work 2 sc in each st around. Place a stitch marker in the first stitch of the round to keep your place. (12 sts)
- Rnd 3: 1 sc in next st, inc in next st. Repeat from * to * 6 times. (18 sts)
- Rnd 4: 1 sc in each of the next 2 sts, inc in next st. Repeat from * to * 6 times. (24 sts)
- Rnd 5: 1 sc in each of the next 3 sts, inc in next st. Repeat from * to * 6 times. (30 sts)
- Rnd 6: 1 sc in each of the next 4 sts, inc in next st. Repeat from * to * 6 times. (36 sts)
Finishing
Once you reach the end of Round 6, work one slip stitch into the next stitch to level off the edge. Cut your yarn, leaving a 6-inch tail. Pull the tail completely through the loop on your hook. Use your tapestry needle to weave the end through the back loops of the final round to secure it, then trim any excess yarn. Repeat these steps for as many coasters as you need.
Care & Washing Instructions
- Machine wash on a gentle cycle in cold water using a mild detergent.
- Reshape the coasters while damp and lay them flat on a towel to air dry.
- If the coasters become misshapen from frequent use, iron them on a low steam setting to relax the cotton fibers back into a flat circle.
Pro Tips & Common Mistakes to Avoid
Maintain consistent tension throughout each round to ensure the coaster remains flat. If your stitches are too tight, the coaster will start to bowl upward like a cup; if they are too loose, the fabric will ripple and wavy edges will form. Always use a stitch marker at the start of every round so you do not lose count of the increases. If you want a larger coaster, continue the pattern of adding one extra single crochet between increases every round (e.g., Round 7 would have 5 sc between each inc), but keep in mind that you will need more yardage per piece.
Frequently Asked Questions
Can I use a different weight of yarn for this pattern?
Yes, but changing the yarn weight will significantly affect the finished size. A lighter yarn will result in a smaller coaster, while a bulky yarn will produce a much larger mat. You may need to adjust your hook size to match the yarn manufacturer’s recommendation on the label.
Why is my coaster curling at the edges?
Curling usually happens when your tension is too tight or when your stitch count is incorrect. Ensure you are working exactly two single crochets into the increase stitches. If the fabric still curls, try going up a half-size in your hook.
Can I sell the finished coasters I make from this pattern?
You are welcome to sell items made from this pattern, provided you credit the design. Do not distribute or sell the written pattern itself as your own work.
Is this suitable for a total beginner?
This is an excellent project for a beginner because it only uses single crochet stitches. It provides a straightforward way to learn how to increase in a circle and manage continuous rounds without the complexity of color changes.
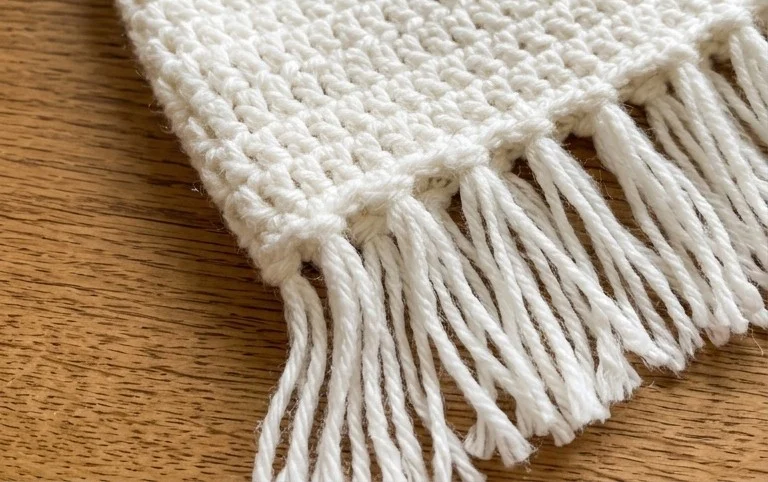
Your finished set of sturdy cotton coasters brings a clean, handcrafted touch to your living room or dining area. You might try holding two strands of thinner yarn together to create a thicker, marbled look if you want to experiment with different aesthetics. Please consider sharing a photo of your work online to show how your color choices turned out. Feel free to browse through the rest of the blog for more free patterns that help you build your skills one stitch at a time.