Easy Granny Square Crochet Pattern: Materials Guide
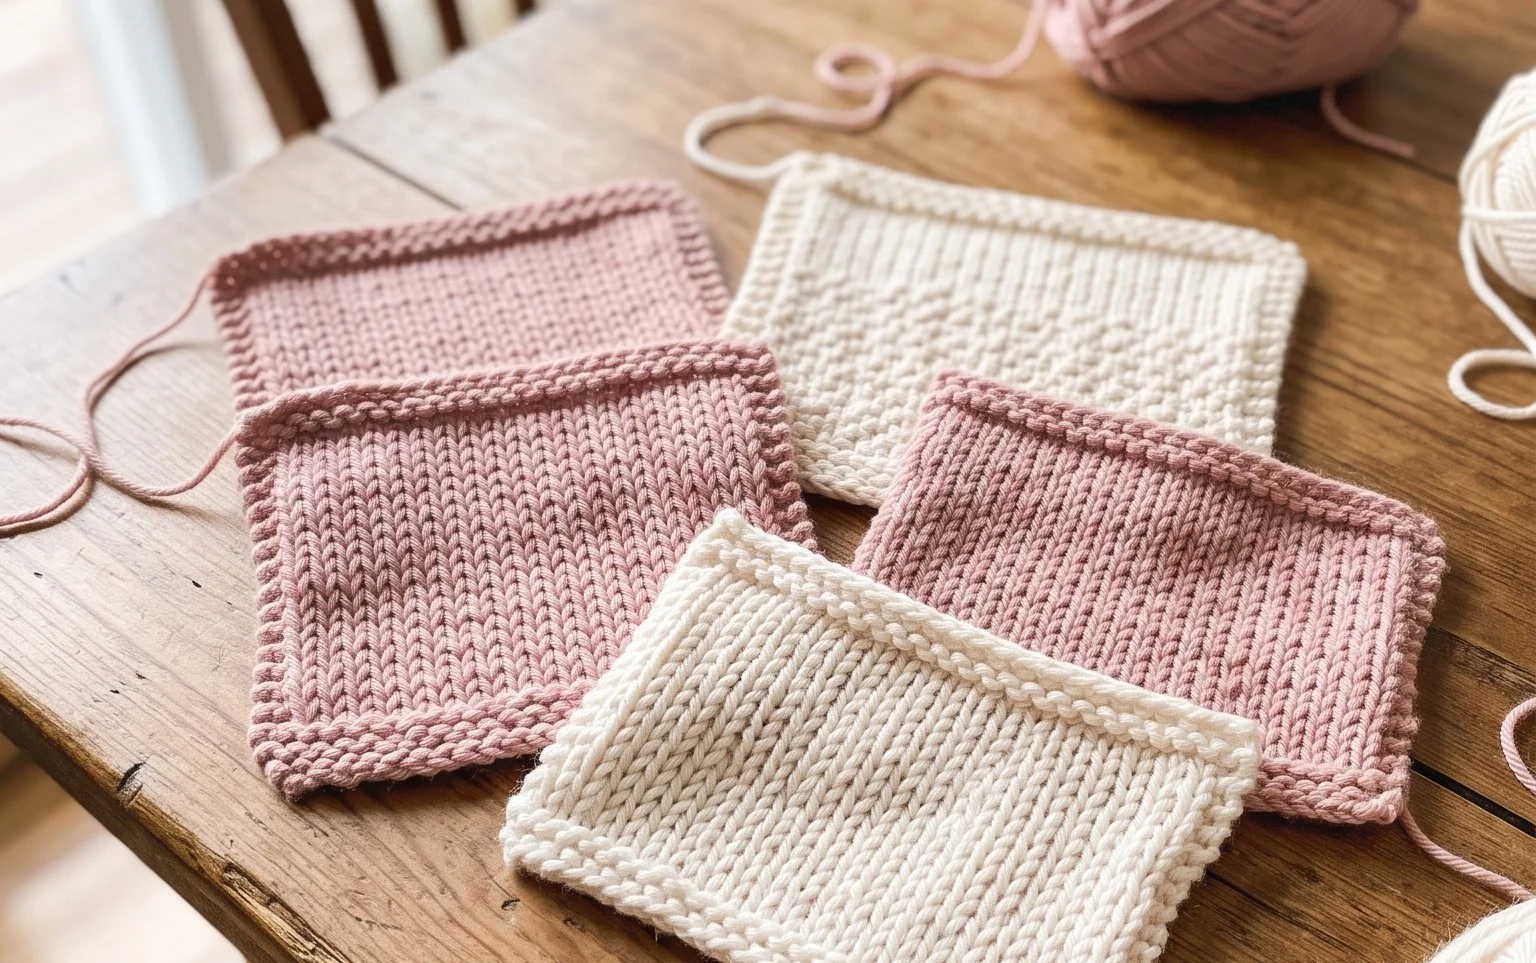
Stiff, crisp cotton yarn loops into a dense fabric that holds its own weight, creating a sturdy square with clearly defined stitches. Beginners find comfort in the repetitive motion of clusters, while gift makers appreciate how these units assemble into blankets or bags with a soft, handmade texture. You gain a sense of accomplishment watching the square grow from a tiny center point into a uniform geometric shape that stays flat on your lap. This guide walks you through the essential gear needed for your kit, ensuring you have the right weight of yarn and size of hook to achieve professional results every time you pick up your crochet work.
Why You’ll Love This Pattern
The Classic Crochet Granny Square is the foundational building block for countless textile projects, from cozy patchwork blankets to structural tote bags. You will appreciate how quickly this pattern works up once you memorize the sequence of clusters and chain spaces. It is an ideal way to practice maintaining consistent tension, which prevents the square from curling or buckling at the corners. Because it relies on basic double crochet stitches, it remains a portable project you can easily pick up and put down without losing your place.
I finally mastered the transition between corners after years of avoiding squares. The instructions are so clear that I managed to finish a dozen in a single weekend for a baby blanket.
— Sarah, hobbyist crocheter
Pattern Overview & Skill Level
- Skill Level: Beginner
- Approximate Time: 30 to 45 minutes per square
- Construction: Worked in joined rounds, turning after each round to keep the square shape symmetrical
- Finished Dimensions: Approximately 6 inches by 6 inches using medium weight yarn
Materials & Supplies Needed
- Yarn: Worsted weight (#4), 100% cotton or acrylic blend, approximately 30 yards per square.
- Hook Size: 5.0 mm (H-8) crochet hook.
- Notions: Tapestry needle for weaving in ends, scissors, and optional locking stitch markers to denote the start of rounds.
- Yarn Substitutions: You may use DK weight yarn for a smaller, more delicate square, though you will need to increase the number of rounds to reach the same finished size. Avoid heavy chunky yarns unless you increase your hook size to at least 6.5 mm to prevent a stiff, rigid fabric.
Stitch Guide & Abbreviations (US Terms)
- ch: chain
- st/sts: stitch/stitches
- sl st: slip stitch
- dc: double crochet
- dc cluster: 3 double crochet stitches worked into the same space
- sp: space
- MR: magic ring
Step-by-Step Pattern Instructions
This square is worked from the center outward. Turning at the end of each round ensures the work does not spiral, keeping your corners square and sharp.
Granny Square Body
- Rnd 1: Start with a MR. Ch 3 (counts as first dc throughout), work 2 dc into the ring, ch 2. *Work 3 dc into the ring, ch 2; repeat from * twice more. Join with a sl st to the top of the beginning ch 3. Turn. (12 dc, 4 ch-2 sps)
- Rnd 2: Sl st into the first ch-2 corner sp. Ch 3, 2 dc, ch 2, 3 dc in same sp. *Ch 1, skip 3 dc, (3 dc, ch 2, 3 dc) in next ch-2 sp; repeat from * twice more. Ch 1, join with sl st to top of beginning ch 3. Turn. (24 dc, 4 ch-2 sps, 4 ch-1 sps)
- Rnd 3: Sl st into the first ch-2 corner sp. Ch 3, 2 dc, ch 2, 3 dc in same sp. *Ch 1, 3 dc in next ch-1 sp, ch 1, (3 dc, ch 2, 3 dc) in next corner sp; repeat from * twice more. Ch 1, 3 dc in last ch-1 sp, ch 1, join with sl st to top of beginning ch 3. Turn. (36 dc, 4 ch-2 sps, 8 ch-1 sps)
- Rnd 4: Work corners as established, placing (3 dc, ch 2, 3 dc) in each ch-2 corner sp. In each ch-1 side space, work 3 dc. Chain 1 between all clusters. Join with sl st, fasten off, and weave in ends. (48 dc, 4 ch-2 sps, 12 ch-1 sps)
Finishing
To finish the square, trim your yarn leaving a 6-inch tail. Use a tapestry needle to weave the tail back and forth through the back loops of the finished stitches on the reverse side. This prevents the knot from pulling through to the front of the work.
Care & Washing Instructions
- Machine wash your finished squares on a gentle cycle in cool water to prevent fiber distortion.
- Lay the items flat on a clean towel to dry, shaping them into a perfect square while damp.
- Steam block lightly if the corners appear rounded, keeping the iron a few inches away from the fiber to avoid melting synthetic yarns.
Pro Tips & Common Mistakes to Avoid
Monitor your tension closely during the corner clusters; if you find the corners pulling tight, increase your chain count in the corners to ch 3 instead of ch 2. Use a stitch marker in the first chain of the round so you always know exactly where to join, as the gap can sometimes look like a stitch. Weave your ends in as you go to avoid a massive chore once the project is finished. Finally, remember that changing the hook size by even half a millimeter will change the square size significantly, so always finish all your squares for a single project using the same hook.
Frequently Asked Questions
Can I substitute acrylic yarn for cotton?
Yes, acrylic is an excellent, budget-friendly alternative that holds its shape well. Note that acrylic does not absorb water as well as cotton, so it is better suited for decorative projects like pillows rather than dishcloths.
Why is my square starting to look like a circle?
A circular appearance usually indicates that you are not creating enough chains between your clusters. Ensure you are working a chain-2 in every corner and a chain-1 between the side clusters.
Is this pattern suitable for beginners?
This is a standard beginner project. It teaches you how to work in rounds, how to increase at corners, and how to read basic cluster terminology.
Can I sell finished items made from this pattern?
You are welcome to sell physical items made from this pattern. However, do not redistribute the digital file or claim the pattern design as your own work.
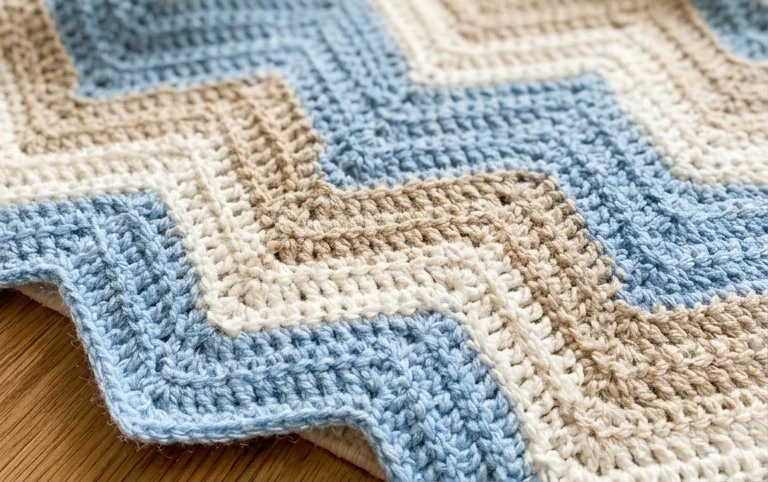
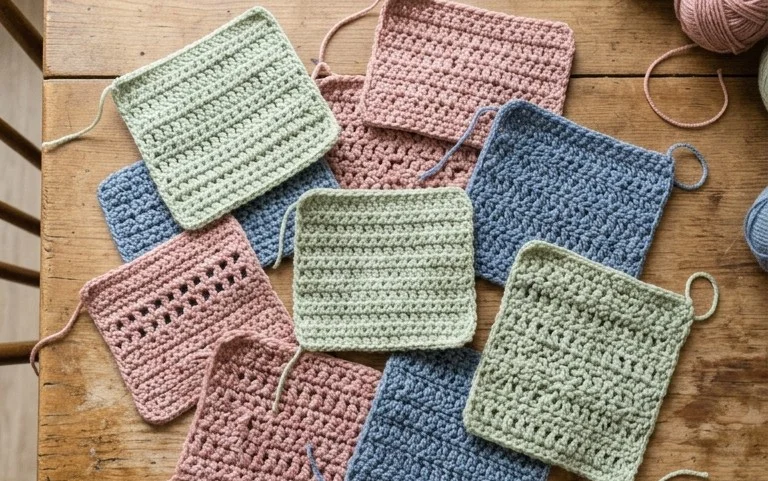
A pile of finished granny squares represents hours of steady, rhythmic work and a satisfying addition to your textile collection. You can alternate colors every round to create a bold, modern look that pops against neutral home decor. Post a photo of your stack on social media to show off your progress and connect with other makers who enjoy the craft. Please browse the rest of the blog for more free patterns that build on these basic stitches to help you grow your collection of handmade goods.