Easy Pansy Stitch Crochet Dishcloth: Free Step-by-Step
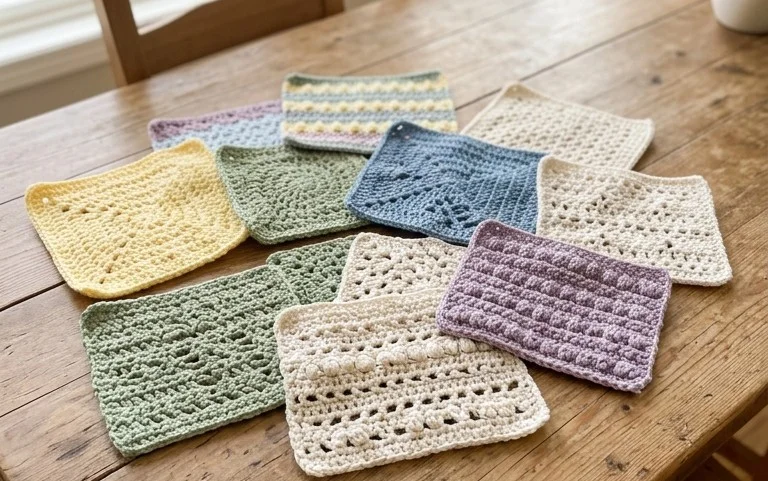
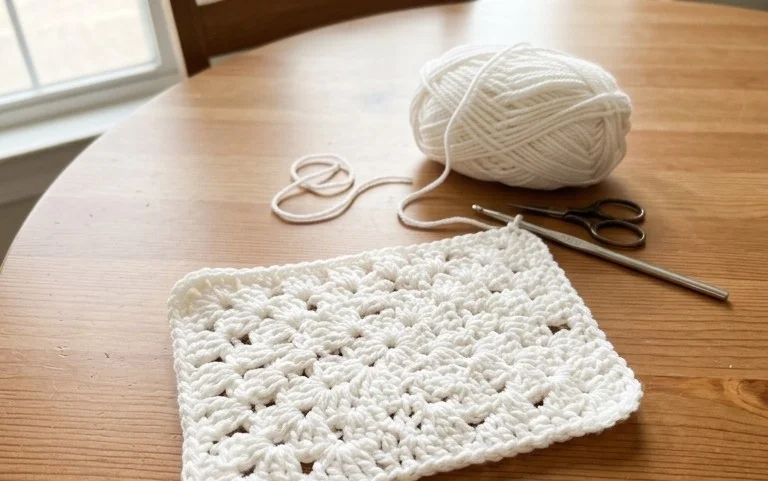
The pansy stitch creates a dense, petal-like fabric that feels substantial in your hands and looks surprisingly ornate for how simple it is to construct. This project appeals to those who enjoy repetitive motions that build up a thick, absorbent cloth for scrubbing stubborn pots or wiping surfaces clean. By learning this specific cluster technique, you gain a versatile skill that transforms basic worsted weight cotton into a sturdy, long-lasting household staple. Beginners find the rhythm comfortable once the first two rows are set, while experienced crafters appreciate the speed at which this decorative texture grows.
Why You’ll Love This Pattern
This classic crochet dishcloth is designed with a durable texture that performs exceptionally well in the kitchen. Using 100% cotton, the fabric stays sturdy even when wet, making it perfect for scrubbing plates or wiping down counters. You can finish this project in under an hour, which makes it an ideal choice for testing out a new yarn color or building your stash of handmade gifts. The pattern relies on a simple stitch repeat that is easy to memorize, allowing you to work on it while watching a show or sitting on the porch.
I managed to whip up a stack of these in one weekend for a friend who just bought her first home. The texture is much better than store-bought cloths and they wash up beautifully without losing their shape.
— Sarah, home crafter
Pattern Overview & Skill Level
- Skill Level: Beginner
- Approximate Time: 45 to 60 minutes
- Construction: Worked in flat rows using a simple stitch repeat
- Finished Dimensions: 8 inches by 8 inches
Materials & Supplies Needed
- Yarn: Worsted weight (#4) 100% cotton yarn, approximately 60 yards.
- Hook Size: 5.0 mm (H-8).
- Notions: Tapestry needle for weaving in ends, scissors.
- Yarn Substitutions: You may use a cotton-acrylic blend, though pure cotton is recommended for better absorbency. Using a lighter weight yarn will result in a smaller finished size unless you increase your starting chain.
Stitch Guide & Abbreviations (US Terms)
- ch: chain
- st/sts: stitch/stitches
- sc: single crochet
- dc: double crochet
- sk: skip
- turn: turn your work to the opposite side
Step-by-Step Pattern Instructions
This dishcloth is worked in rows. You will alternate between single crochet and double crochet stitches to create the signature bumpy texture.
- Row 1: Ch 30, sc in the second ch from hook and in each ch across. (29 sts)
- Row 2: Ch 1, turn. Sc in the first st, dc in the next st, sc in the next st, dc in the next st. Repeat from * to * until you reach the end of the row. (29 sts)
- Row 3: Ch 1, turn. Sc in every st across the row. (29 sts)
- Rows 4 through 30: Repeat Rows 2 and 3 until the piece measures 8 inches square.
- Finishing: Fasten off the yarn, leaving a 6-inch tail. Weave the tail through the back of the work using a tapestry needle to secure it.
Care & Washing Instructions
- Machine wash on a warm setting with similar colors to prevent fading.
- Tumble dry on low heat or lay flat to dry to maintain the original dimensions.
- Reshape the dishcloth while it is still damp to ensure it remains perfectly square.
Pro Tips & Common Mistakes to Avoid
Consistent tension is the secret to a professional-looking dishcloth. If you find your edges are curling, try going up a half-size in your hook, or consciously loosen your grip on the yarn as you work. Always count your stitches at the end of every row to ensure you have 29 stitches, as it is common for beginners to accidentally drop or add a stitch at the turn. If you want a larger size, you can easily adjust this by adding stitches in multiples of two to your starting chain. Remember that adding width will require additional yardage, so ensure you have a second skein of yarn ready.
Frequently Asked Questions
Can I use a different weight of yarn for this project?
Yes, you can use DK or bulky weight yarn, but keep in mind that the finished dimensions will change. You may need to adjust the number of stitches in your starting chain to achieve the desired 8-inch width.
Is this pattern suitable for someone who has never crocheted before?
Absolutely. This pattern utilizes the two most fundamental stitches in crochet—single crochet and double crochet—making it a perfect entry point for building muscle memory.
How do I prevent the edges from looking uneven?
The most common cause of uneven edges is missing the last stitch of the row. Use a stitch marker in the final stitch of every row to ensure you know exactly where to place your hook when you return on the next row.
Am I allowed to sell the dishcloths I make from this pattern?
You are welcome to sell items made from this pattern, provided you credit the design. Please do not distribute or sell the written pattern itself, as the instructions are protected by copyright.
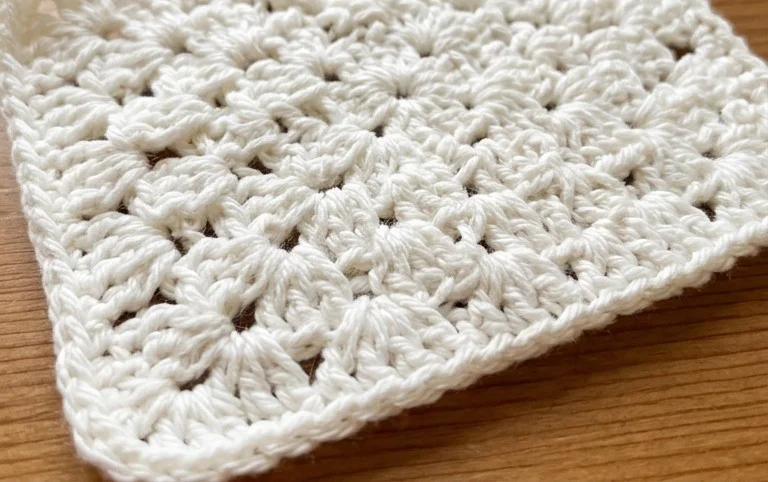
Your new handmade dishcloth brings a touch of floral charm to your kitchen sink while standing up to the rigors of daily cleaning. You might try working this in a two-tone version by switching yarn colors every two rows to make the stitch definition pop even more. Please post a photo of your finished work so others can see your color choices in action. Head over to our main archives to find more free patterns for other useful kitchen items like coasters and washcloths to round out your handmade collection.