40+ Unique Crochet Stitches: Free Step-by-Step Patterns
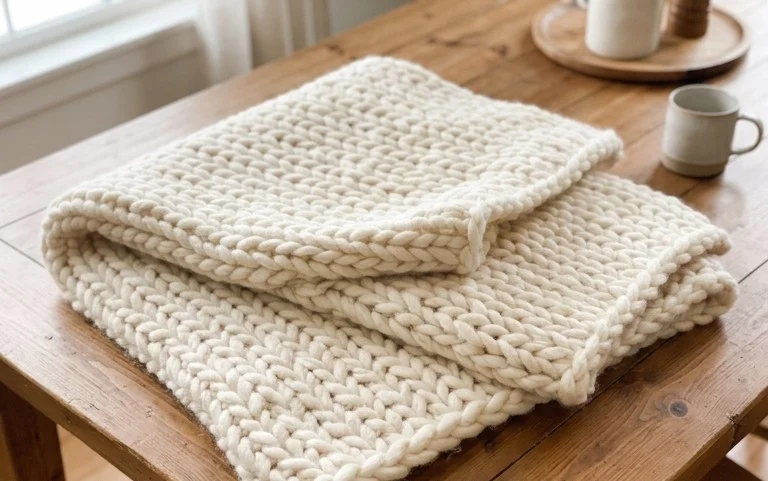
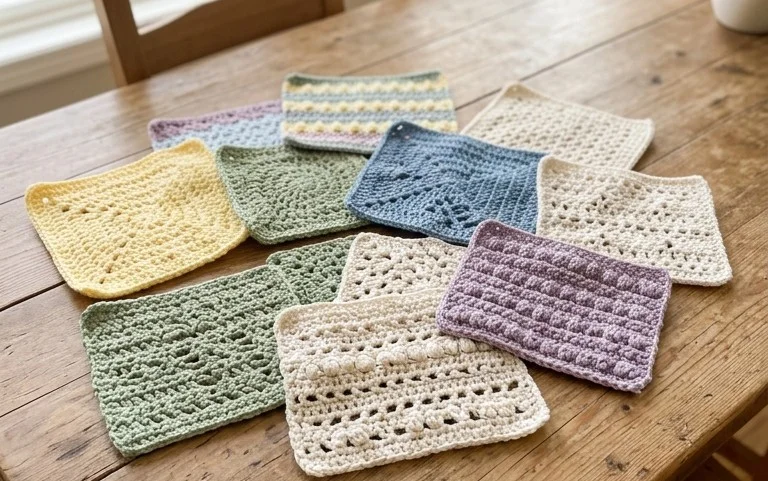
Texture transforms a simple ball of yarn into a stunning tactile experience that feels cozy against your skin and adds instant personality to any living space. Whether you are a curious beginner picking up a hook for the first time or a dedicated crafter seeking the perfect heartfelt gift, these versatile designs offer endless creative joy. You will uncover hidden gems in complex cablework and delicate lacy motifs that turn every loop into a work of art. Diving into these rhythmic patterns is deeply meditative, helping you master sophisticated techniques that elevate your handmade projects from ordinary to truly heirloom quality.
Why You’ll Love This Pattern
This Amigurumi Crochet Bee is the ultimate quick-win project for crocheters of any experience level. Whether you are looking to build your confidence with 3D construction or need a last-minute handmade gift, this pattern delivers a charming result in under two hours. The simple, rhythmic increases and decreases make it a meditative project, while the small size makes it an ideal stash-buster for those leftover scraps of yellow, black, and white yarn.
I am a beginner and this bee was the perfect confidence booster. The instructions for the wings were clear, and I managed to finish the whole project in one afternoon. It looks exactly like the photos!
— Sarah, hobbyist crocheter
Pattern Overview & Skill Level
- Skill Level: Beginner
- Approximate Time: 1.5 – 2 hours
- Construction: Worked in continuous rounds starting from the nose, featuring shaping through standard increases and decreases, finished with surface-sewn details.
- Finished Dimensions: Approximately 3 inches long by 2.5 inches wide.
Materials & Supplies Needed
- Yarn: Worsted weight (#4), 100% Cotton (or Acrylic blend), approx. 30 yards of Yellow, 15 yards of Black, and 10 yards of White.
- Hook Size: 3.5 mm (E-4) for a tight, polished stitch definition that prevents stuffing from peeking through.
- Notions: Tapestry needle, stitch markers, fiberfill stuffing, and 6mm safety eyes.
- Yarn Substitutions: You may use DK weight yarn with a 2.75mm hook for a miniature bee, or Chunky/Bulky yarn with a 5.0mm hook for a larger “plushie” style bee. Note that yarn weight changes will require adjusting fiberfill amount accordingly.
Stitch Guide & Abbreviations (US Terms)
- MR: Magic Ring
- ch: Chain
- sc: Single crochet
- inc: Increase (2 sc in the same stitch)
- dec: Decrease (invisible decrease recommended: insert hook into front loops only of next two stitches, yarn over, pull through, yarn over, pull through both loops)
- sl st: Slip stitch
- st(s): Stitch(es)
- FO: Fasten off
Step-by-Step Pattern Instructions
Bee Body
Starting with Yellow yarn.
- Rnd 1: 6 sc in MR (6)
- Rnd 2: inc in each st around (12)
- Rnd 3: (1 sc, inc) repeat 6 times (18)
- Rnd 4: (2 sc, inc) repeat 6 times (24)
- Rnd 5–7: sc in each st around (24)
- Rnd 8: Change to Black. sc in each st around (24)
- Rnd 9: Change to Yellow. sc in each st around (24)
- Rnd 10: Change to Black. sc in each st around (24)
- Rnd 11–13: Change to Yellow. sc in each st around (24)
- Rnd 14: (2 sc, dec) repeat 6 times (18)
- Insert safety eyes between Rnds 6 and 7, approximately 4 stitches apart. Begin stuffing the body firmly.
- Rnd 15: (1 sc, dec) repeat 6 times (12)
- Rnd 16: dec 6 times (6)
- FO and weave tail through front loops to close the opening.
Wings (Make 2)
Using White yarn.
- Rnd 1: 6 sc in MR (6)
- Rnd 2: (1 sc, inc) repeat 3 times (9)
- Rnd 3: sc in each st around (9)
- Rnd 4: (1 sc, dec) repeat 3 times (6)
- FO, leaving a long tail for sewing. Do not stuff the wings. Flatten them before sewing to the top of the body between Rnds 9 and 11.
Care & Washing Instructions
- Hand wash in cool water using a mild wool-safe detergent to maintain shape.
- Do not wring or twist; gently squeeze out excess water and reshape while damp.
- Lay flat on a clean towel in a shaded area to air dry completely.
Pro Tips & Common Mistakes to Avoid
- Tight Tension: Keep your tension tight to ensure the stuffing does not show through the gaps. If you see gaps, consider going down one hook size.
- Marking Rounds: Always use a stitch marker at the start of your round. Because you are working in continuous spirals, it is very easy to lose your place without one.
- Invisible Decreases: Use the “invisible decrease” (front loops only) instead of a standard sc2tog to keep the surface of your bee smooth and hole-free.
- Resizing: To make a larger bee, use a heavier weight yarn. Keep in mind that for every 10% increase in size, you will need approximately 20-30% more yarn to account for the increased surface area.
Frequently Asked Questions
Can I use safety eyes for this project if it is for a baby?
Safety eyes are not recommended for children under 3 years of age. For baby-safe toys, consider embroidering the eyes using black embroidery floss or yarn.
How do I keep my color changes neat during the stripes?
To avoid jagged color changes, carry your non-working yarn up the inside of the piece or use the “invisible color change” technique where you pull the new color through the final two loops of the previous stitch.
Can I sell the bees I make from this pattern?
Yes, you may sell finished items made from this pattern provided you give credit to the designer. Do not reproduce or sell the pattern instructions themselves.
What is the best way to stuff the bee evenly?
Use small clumps of fiberfill rather than one large piece. Use the back of your crochet hook to push the stuffing into the nose and corners, ensuring it is firm but not so full that the stitches stretch apart.
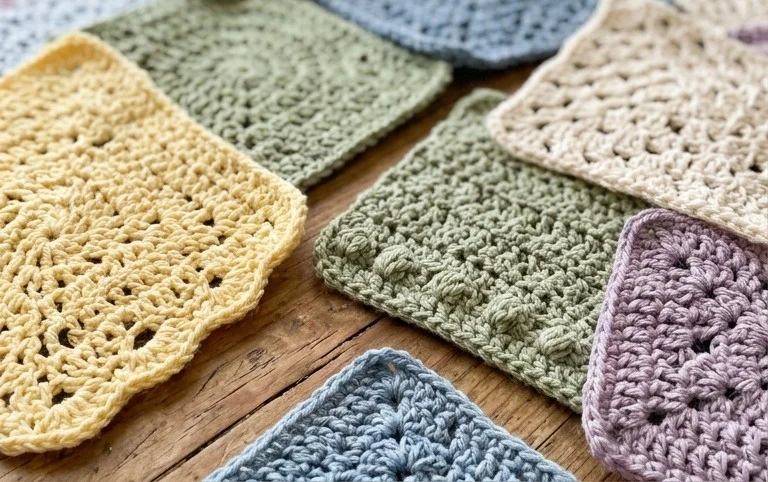
Your finished project is going to look absolutely stunning and truly one-of-a-kind with these beautiful textures! Try working up your favorite stitch in a vibrant variegated yarn to see how the color shifts bring the design to life. I would love to see what you create, so please share your lovely work on Pinterest or Instagram with our community tag. If you are feeling inspired, be sure to stick around and browse through the rest of our free pattern library for more cozy ideas.