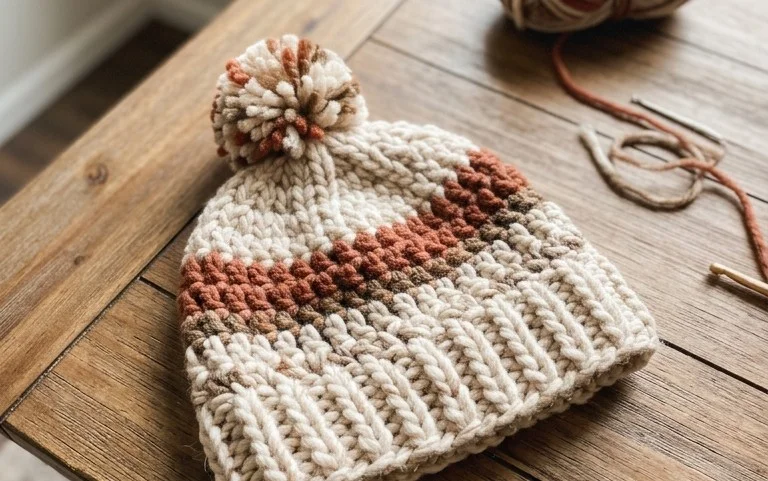
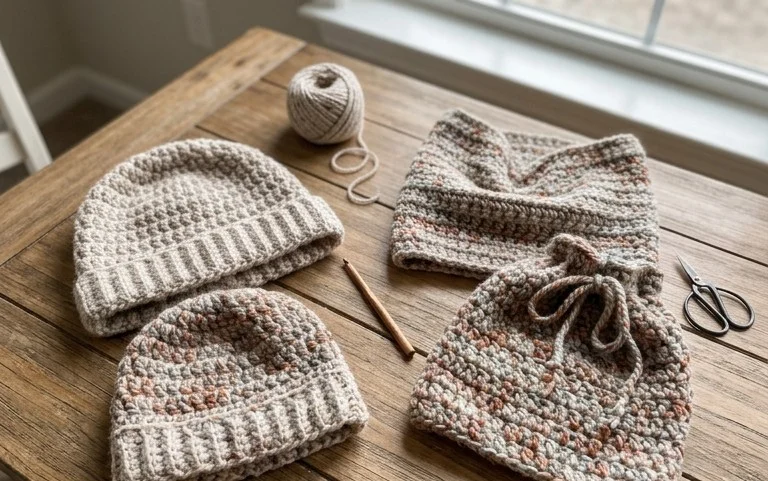
Easy Beret Style Beanie: Free Beginner Crochet Pattern
The soft, slouchy silhouette of this accessory brings a touch of classic charm to your wardrobe, sitting comfortably just above the ears with a relaxed, sophisticated fit. Beginners often find that working in rows provides a clear, rhythmic experience that builds confidence and creates a consistent, professional finish. You will master the back-loop-only half double crochet stitch, which provides the distinctive vertical ridges that define this cozy piece. Whether you are crafting a thoughtful gift for a loved one or refreshing your own cold-weather collection, this project offers a meditative and rewarding process that transforms a single skein into something functional.
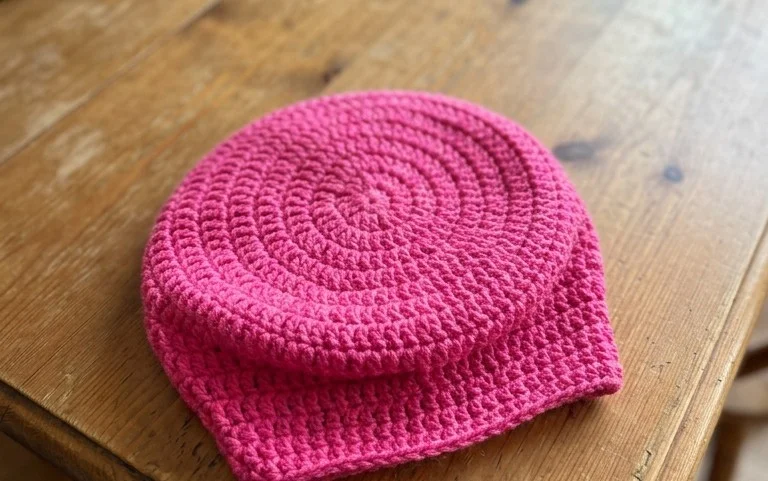
Why You’ll Love This Pattern
This crochet ribbed beanie pattern utilizes a simple rectangular construction worked in rows, making it an ideal choice for those who are new to garment making. Because you work the piece flat and then join it into a tube, you avoid the complexity of shaping rounds entirely. The finished fabric has a squishy, vertical texture that mimics professional store-bought knitwear while remaining stretchy enough to fit a wide range of head sizes. It works up quickly with worsted weight yarn, allowing you to complete a handmade gift in a single evening.
I managed to finish this hat in just two hours while watching a movie. The ribbed effect is stunning and looks much more complicated than it actually is.
— Sarah, beginner crocheter
Pattern Overview & Skill Level
- Skill Level: Beginner
- Approximate Time: 2 to 3 hours
- Construction: Worked flat in rows to create a rectangle, then seamed vertically to form a tube and cinched at the top.
- Finished Dimensions & Sizing: Fits average adult head circumference of 21–23 inches. Final flat width is 9 inches and height is 11 inches before folding the brim.
Materials & Supplies Needed
- Yarn: Worsted weight (#4) wool or acrylic blend, approximately 200 yards.
- Hook Size: 5.0 mm (H-8).
- Notions: Yarn needle for weaving ends and seaming, locking stitch markers, and a tape measure.
- Safe yarn substitutions: You may use cotton, though it will result in a heavier, less stretchy hat. Acrylic or wool blends provide the best elasticity for a snug fit.
Stitch Guide & Abbreviations (US Terms)
- ch: Chain
- st/sts: Stitch/stitches
- sl st: Slip stitch
- BLO: Back loop only. Insert the hook only through the back loop of the stitch from the previous row. This creates the ribbed texture.
- sc: Single crochet
Step-by-Step Pattern Instructions
Hat Body
The hat is worked as one large rectangle. You will crochet back and forth in rows. Be sure to count your stitches at the end of every row to ensure the edges remain straight.
- Row 1: Ch 46. Sc in second ch from hook and in each ch across. (45 sts)
- Row 2: Ch 1, turn. Working in BLO, sc in each st across. (45 sts)
- Row 3–60: Repeat Row 2 until the piece measures approximately 18 inches in length when slightly stretched.
Assembly and Finishing
- Fasten off, leaving a 20-inch tail of yarn for sewing.
- Fold the rectangle in half so the short ends meet.
- Using the long tail and your yarn needle, whip stitch the two short ends together to create a tube.
- Secure the yarn at the bottom edge and weave in the end.
- Turn the tube inside out so the seam is on the inside.
- Use a fresh piece of yarn to weave in and out of the stitches along the top edge of the tube.
- Pull the yarn tight to cinch the top of the hat closed, knotting it securely to prevent it from reopening.
- Fold the bottom edge up about 2 inches to create the brim.
Care & Washing Instructions
- Hand wash in cool water with a mild wool-safe detergent to maintain the elasticity of the fibers.
- Lay the hat flat on a clean towel and reshape it, avoiding direct sunlight or heat sources.
- Do not wring or twist the fabric, as this can cause the stitches to lose their definition and permanently stretch the yarn.
Pro Tips & Common Mistakes to Avoid
Maintain consistent tension throughout the project, especially on the turning chains, to prevent the edges from rippling. Using a stitch marker in the first stitch of every row helps you keep track of the count and prevents you from accidentally skipping the final stitch, which is a frequent error that leads to a slanted edge. If you wish to make the hat larger or smaller, add or subtract chains in multiples of two, but remember that this will increase or decrease the amount of yarn required. Weave your ends in by working back and forth through the back loops of the stitches to ensure they remain hidden and secure after repeated wear.
Frequently Asked Questions
Can I use a bulky weight yarn for this pattern?
Yes, but you will need to adjust your foundation chain length and the total number of rows. Using a thicker yarn will result in a much larger hat, so measure your work against your head as you go.
Why do my edges look uneven?
This usually happens when the first or last stitch of a row is missed. Always count your 45 stitches at the end of every row to ensure the rectangle stays perfectly square.
Is this pattern suitable for complete beginners?
Yes, this is an excellent first project because it only uses the single crochet stitch and teaches you how to create texture using the back loop only technique.
Can I sell the hats I make from this pattern?
You are welcome to sell finished items made from this design, provided you credit the pattern source in your product listings.
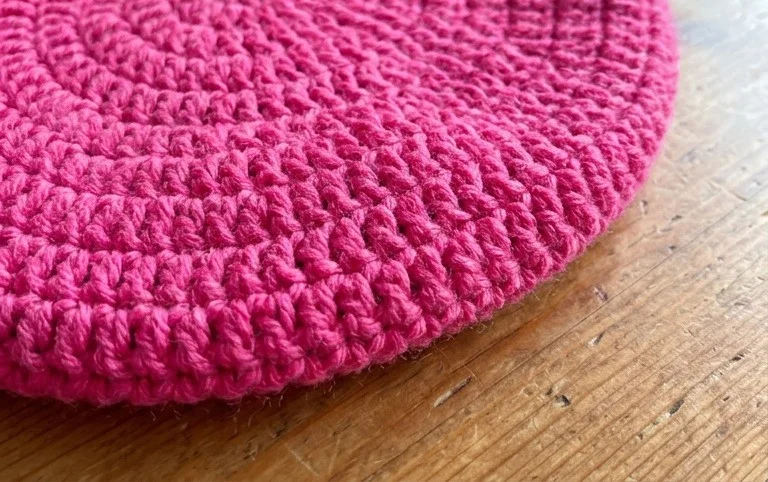
Watching the final seam come together is deeply satisfying, especially when you realize how much character a simple stitch pattern adds to the finished silhouette. Try experimenting with a variegated wool yarn or a deeper charcoal shade for a different look that shifts the mood of the hat entirely. Tag your progress on social media so others can see your color choices in action. If you enjoyed this project, take a look at the other beginner-friendly garments available in the archives for your next weekend afternoon.