Easy Lace Crochet Granny Square Free Pattern Step-by-Step
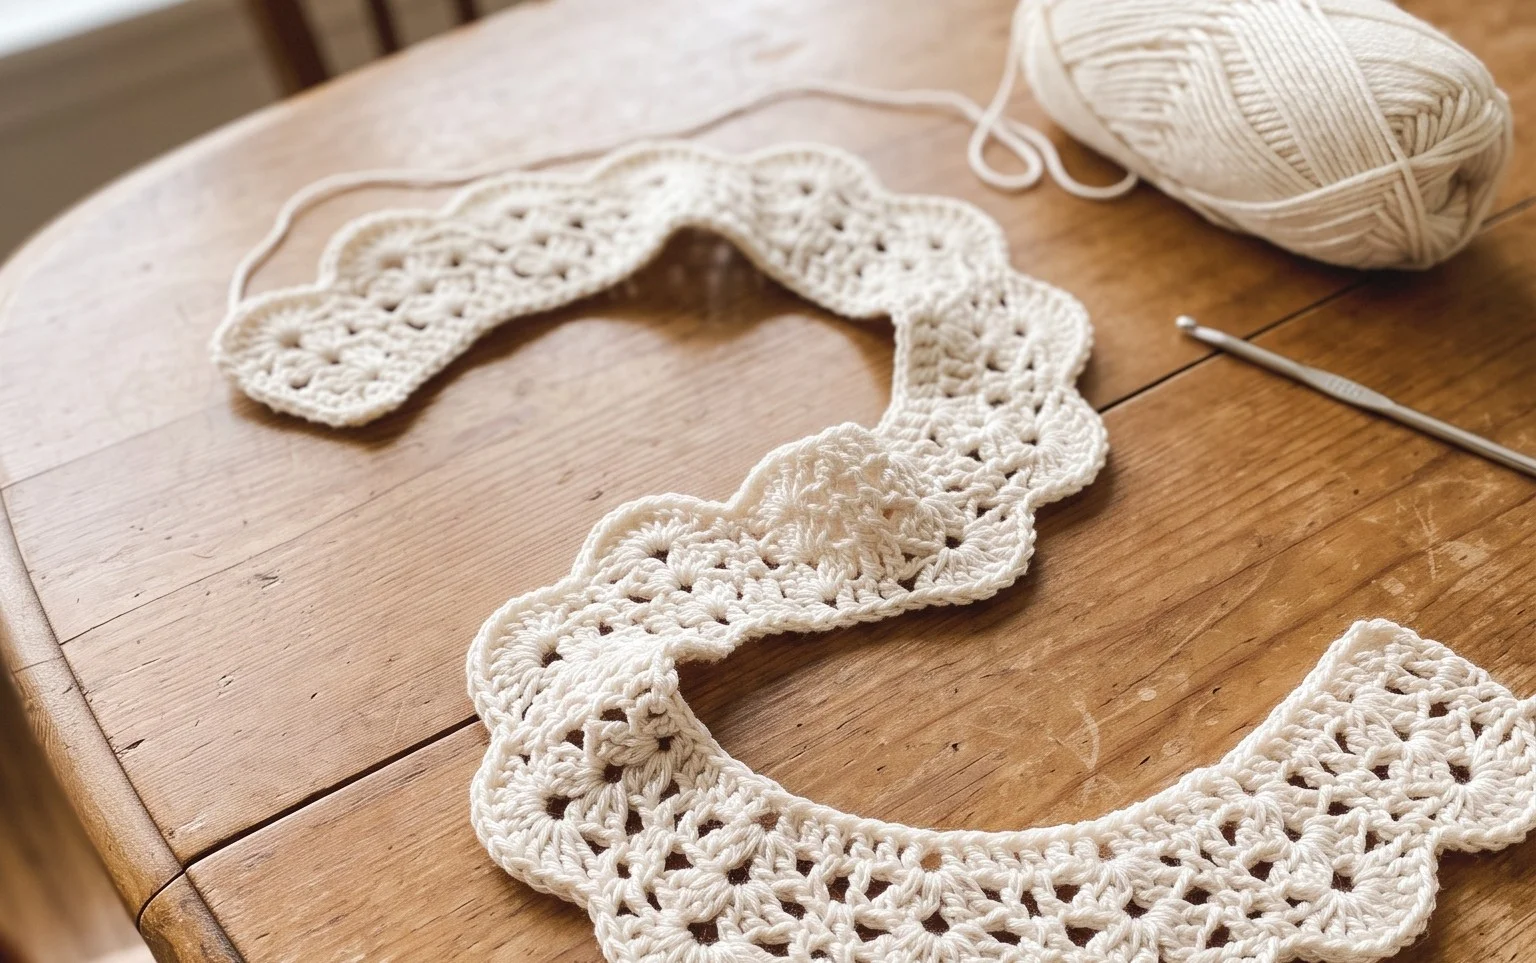
This openwork square feels like a breath of fresh air with its airy chain spaces and light, floating texture that makes standard yarn look like fine lace. It sits comfortably in the hand, soft yet structured enough to hold its shape during assembly. Whether you want to piece together a delicate summer shawl or add a lightweight touch to a bedroom pillow, this design adapts to your needs with grace. You will learn how to balance clusters with consistent chain intervals, mastering the tension required for a professional result that avoids curling edges or gaps in the corners.
Why This Project Is Worth Making
The Classic Crochet Granny Square is the fundamental building block for countless heritage projects, from cozy blankets to lightweight summer totes. This pattern is worth making because it teaches you the essential technique of working in rounds while expanding outward from a central point. You will appreciate how quickly the work grows, providing a satisfying sense of progress in just a few minutes of stitching. Because it relies on simple clusters of double crochet stitches, it is highly meditative and perfect for carrying along in a project bag for travel or downtime. Experienced makers often return to this design to use up leftover yarn scraps, as it works beautifully in single or multiple colors.
I finally mastered the center join using this exact method, and now I have a whole stack of squares ready to be turned into a lap throw for my living room.
— Sarah, hobbyist crafter
Pattern Overview & Skill Level
- Skill Level: Beginner
- Approximate Time: 30 to 45 minutes per square
- Construction: Worked in continuous rounds from the center outward
- Finished Dimensions: Approximately 6 inches by 6 inches when using worsted weight yarn
Materials & Supplies Needed
- Yarn: Worsted weight (#4), 100% cotton or acrylic blend, approximately 20 yards per square.
- Hook Size: 5.0 mm (US H-8) crochet hook.
- Notions: Tapestry needle for weaving in ends, sharp scissors.
- Yarn Substitutions: You may use DK weight (#3) yarn with a 4.0 mm hook for a smaller, more delicate square, or bulky weight (#5) with a 6.0 mm hook for a larger, faster-growing square.
Stitch Guide & Abbreviations (US Terms)
- ch = chain
- st = stitch
- sl st = slip stitch
- dc = double crochet
- dc cluster = 3 double crochet stitches worked into the same space
- sp = space
- rnd = round
Step-by-Step Pattern Instructions
The Foundation
- Rnd 1: Ch 4, join with a sl st to the first chain to form a ring. Ch 3 (counts as first dc here and throughout), 2 dc in the ring, ch 2, *3 dc in the ring, ch 2; repeat from * twice more. Join with a sl st to the top of the beginning ch-3. (12 dc, 4 ch-2 spaces)
Expanding the Square
- Rnd 2: Sl st into the next 2 sts and into the first ch-2 space. Ch 3, 2 dc in the same space, ch 2, 3 dc in the same space (this creates the first corner). *Ch 1, in the next ch-2 space work (3 dc, ch 2, 3 dc). Repeat from * twice more, ch 1, join with a sl st to the top of the beginning ch-3. (24 dc, 4 ch-2 spaces, 4 ch-1 spaces)
- Rnd 3: Sl st into the next 2 sts and into the corner ch-2 space. Ch 3, 2 dc in the same space, ch 2, 3 dc in the same space. Ch 1, 3 dc in the next ch-1 space, ch 1. *In the next corner ch-2 space work (3 dc, ch 2, 3 dc), ch 1, 3 dc in the next ch-1 space, ch 1. Repeat from * twice more, join with a sl st to the top of the beginning ch-3. (36 dc, 4 ch-2 spaces, 8 ch-1 spaces)
- Rnd 4: Continue in established pattern, working (3 dc, ch 2, 3 dc) in each corner and 3 dc in every ch-1 space along the sides. Join with a sl st to the top of the beginning ch-3. (48 dc, 4 ch-2 spaces, 12 ch-1 spaces)
Finishing
Fasten off your yarn, leaving a six-inch tail. Use a tapestry needle to weave the tail through the back loops of the final stitches to secure the yarn. Trim any excess closely to the fabric.
Care & Washing Instructions
- Machine wash on a gentle cycle in cool water using mild detergent.
- Lay the square flat on a clean towel to air dry, reshaping it with your hands while damp to maintain the square geometry.
- If the corners curl after drying, gently steam-block by holding a steam iron slightly above the fabric without touching the yarn.
Pro Tips & Common Mistakes to Avoid
Check your tension frequently; if the square begins to ruffle, your stitches are likely too loose for the hook size. Always place a stitch marker in the top of your starting chain-3 so you can easily identify where to join your slip stitch at the end of each round. Weave your yarn ends in multiple directions, specifically back and forth through the base of the double crochet clusters, to ensure they do not pull out over time. If you wish to make the square larger, simply repeat Rnd 4 as many times as you like, noting that each additional round will require approximately 10 to 15 percent more yarn than the previous one.
Frequently Asked Questions
Can I use a different yarn weight for this pattern?
Yes, you can substitute the yarn weight. Just be aware that changing the weight will significantly alter the final size of the square. Always match your hook size to the recommendation on the yarn label to maintain proper drape.
Is this pattern suitable for complete beginners?
This pattern is an ideal starting point for beginners. It focuses on the basic double crochet stitch and the concept of working into chain spaces, which helps develop consistent tension and counting skills.
How do I join multiple squares together?
You can join finished squares using a simple whip stitch or a single crochet seam. Align the edges of two squares with right sides facing together and work through the back loops of each corresponding stitch.
May I sell items made from this pattern?
You are welcome to sell finished items created from this pattern. I ask that you credit the designer and provide a link back to the original source when listing your finished goods for sale online.
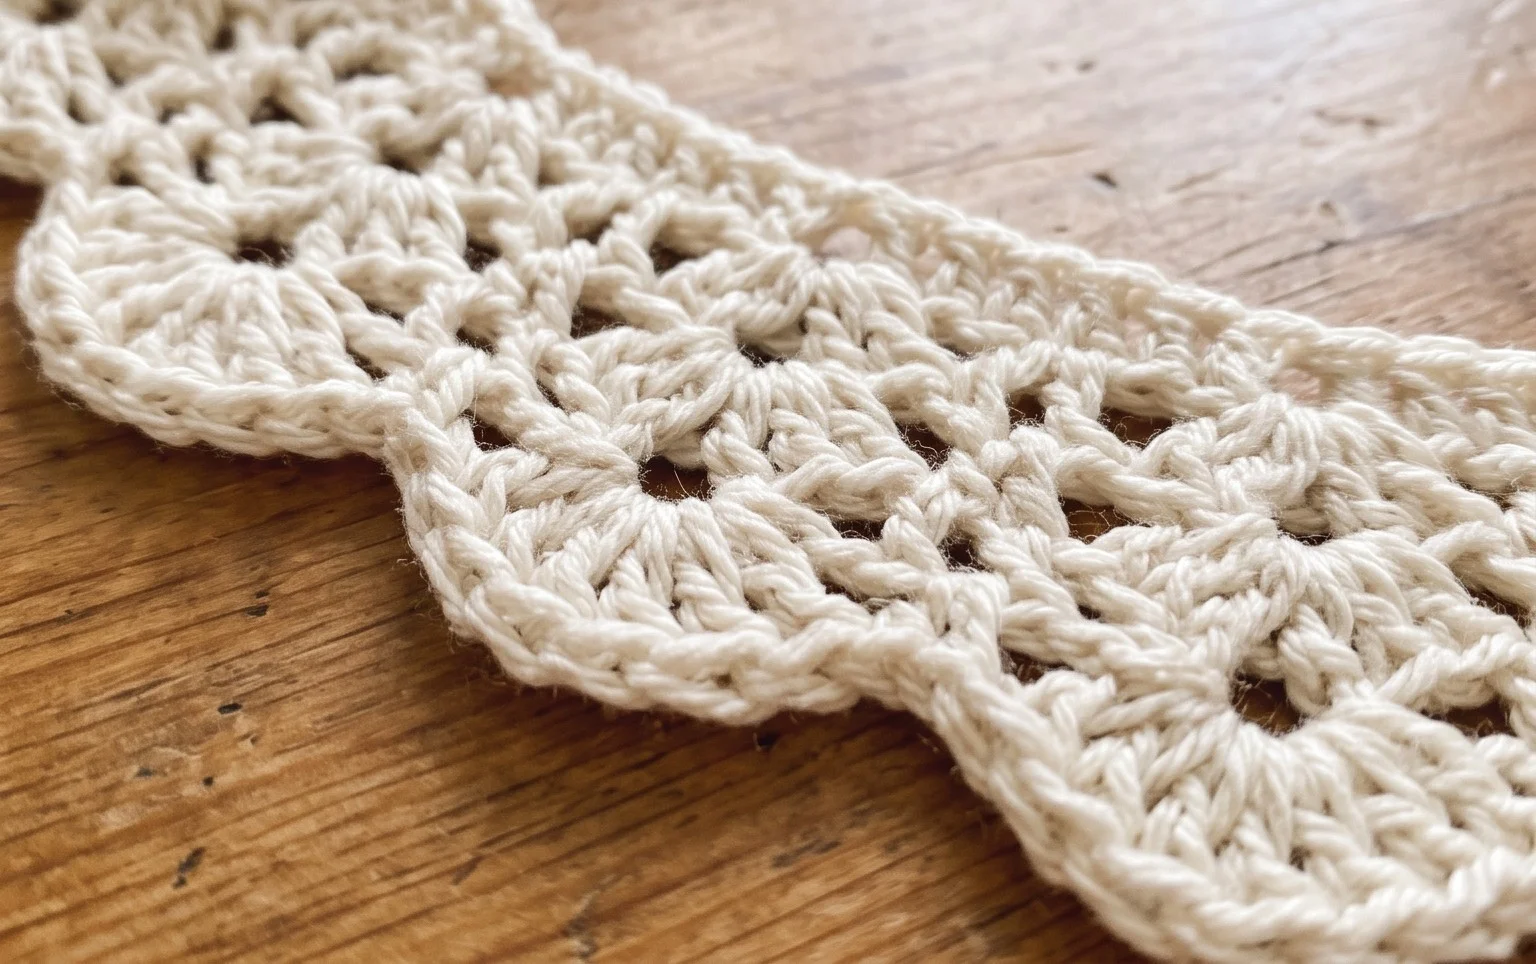
Your new square looks beautiful now that the ends are neatly tucked away and the piece is blocked to size. You might consider using a variegated cotton yarn for your next set to see how the color transitions dance across the lacy gaps. Posting a photo of your progress helps other makers find inspiration for their own yarn collections. Please feel free to browse the rest of the blog for more free patterns to build your library of projects for future afternoons of stitching.